You back up a Server to Microsoft Azure by using Microsoft Azure Backup Server (MABS) in much the same way that you back up other data sources. Azure Backup provides flexibility in the backup schedule to create daily, weekly, monthly, or yearly backup points and gives you retention policy options for various backup points. It also provides the capability to store local disk copies for quick recovery-time objectives (RTO) and to store copies to Azure for economical, long-term retention.
This blog post, shows how to Server to Microsoft Azure by using Microsoft Azure Backup Server (MABS)
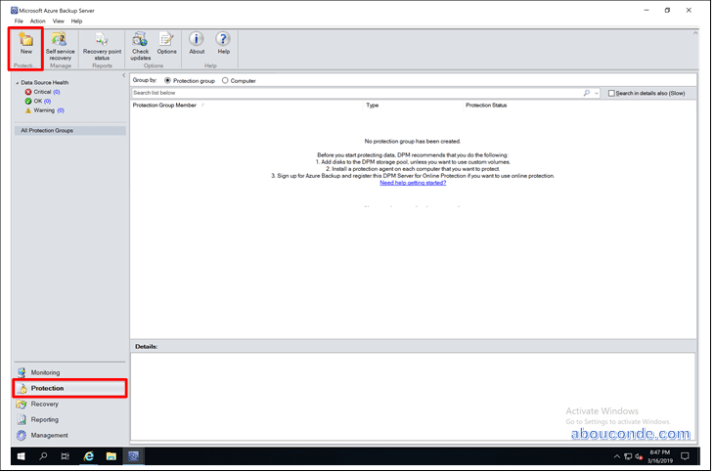
From the Protection tab of the MABS Administrator Console, click New.
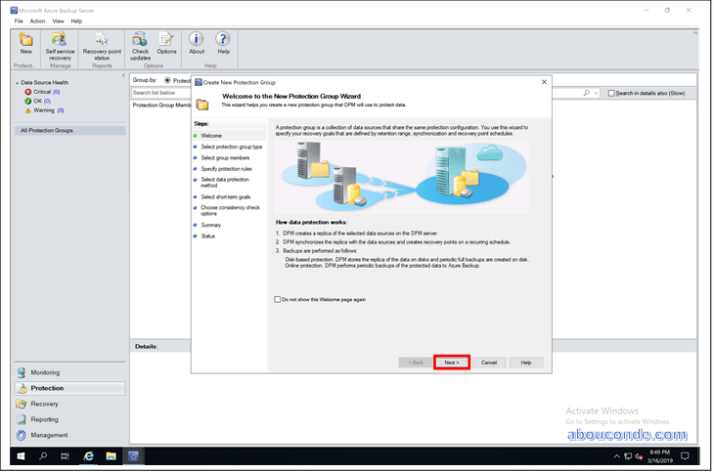
On the Welcome page, select next
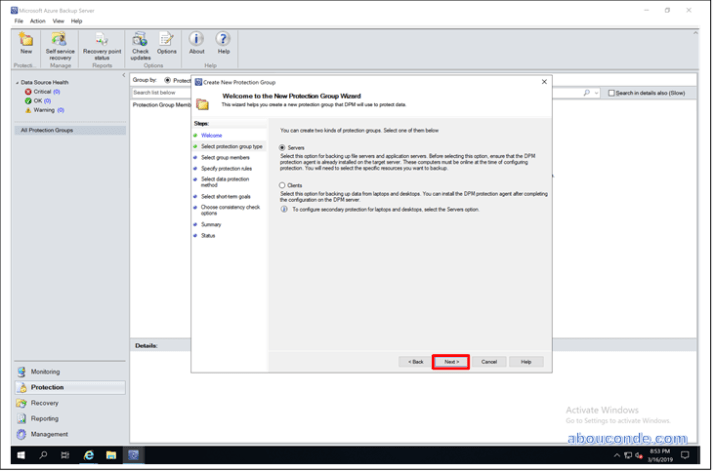
On the Select Protection Group Type page of the Create New Protection Group wizard, select Servers, and then click Next.
On the Select Group Members screen, select the check box for the server you want to protect and click Next.

On the Select Data Protection Method page, enter the name of the Protection Group, and select your preferred protection methods. Click Next.

On the Specify Short-Term Goals page, select your preferred Retention range and identify when you want backups to occur.

Review the storage pool disk space allocated for the protection group, and click then Next.

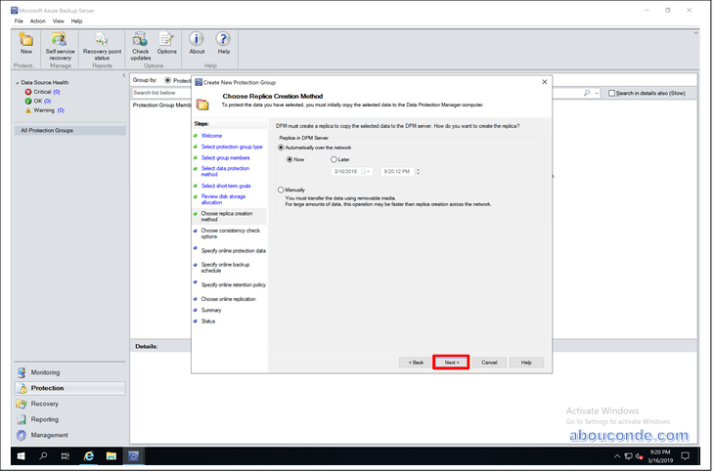
For every protection group, MABS allocates disk space to store and manage replicas. At this point, MABS must create a copy of the selected data. Select how and when you want the replica created, and then click Next.
MABS ensures data integrity by performing consistency checks on the replica. There are two available options. You can define a schedule to run consistency checks, or DPM can run consistency checks automatically on the replica whenever it becomes inconsistent. Select your preferred option, and then click Next.

On the Specify Online Protection Data page, select the file that you want to protect, and then click Next.

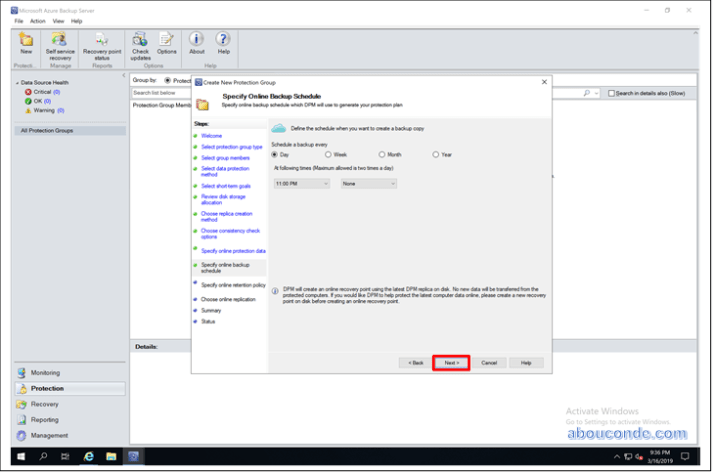
On the Specify Online Backup Schedule page, select your preferred schedule, and then click Next.
Depending on the backup schedule that you selected, on the Specify Online Retention Policy page, select the retention policy for daily, weekly, monthly, and yearly backup points.

Similar to disk, an initial reference point replica needs to be created in Azure. Select your preferred option to create an initial backup copy to Azure, and then click Next.

Review your selected settings on the Summary page, and then click Create Group. You will see a success message after the protection group has been created.

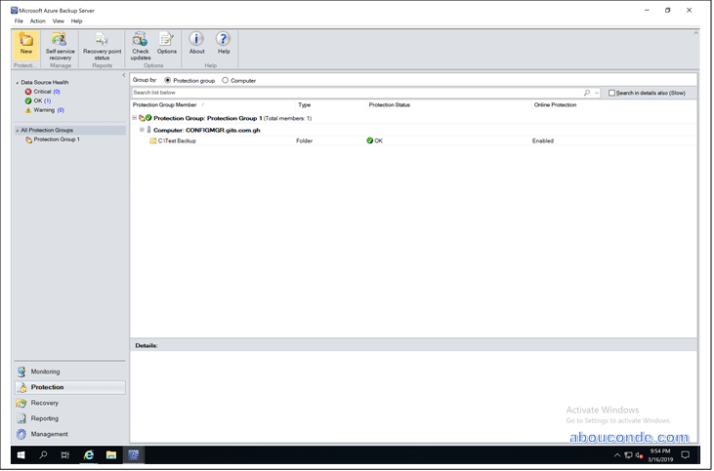
Open the DPM Administrator Console. All the Servers that are protected by DPM are shown in the Protection tab.