
The MARS agent is used by Azure Backup to back up files, folders, and system state from on-premises machines and Azure VMs to a backup Recovery Services vault in Azure.
You can run the agent as follows:
- Run the agent directly on on-premises Windows machines so that they can back up directly to a backup Recovery Services vault in Azure.
- Run the agent Azure VMs running Windows (side-by-side with the Azure VM backup extension) to back up specific files and folders on the VM.
- Run the agent on a Microsoft Azure Backup Server (MABS) or a System Center Data Protection – Manager (DPM) server.
In this scenario, machines and workloads back up to MABS/DPM, and then MABS/DPM backs up to a vault in Azure using the MARS agent. What you can back up depends on where the agent is installed.
This blog post shows how to install MARS Agent on your Windows 10 machines
Download the MARS agent
Download the MARS agent for installation on machines you want to back up.
- If you’ve already installed the agent on any machines, make sure you’re running the latest version.
- The latest version is available in the portal, or using a direct download
On Windows 10 Machine, locate the Microsoft Azure Recovery Services Agent (MARS) and the vault credentials files.
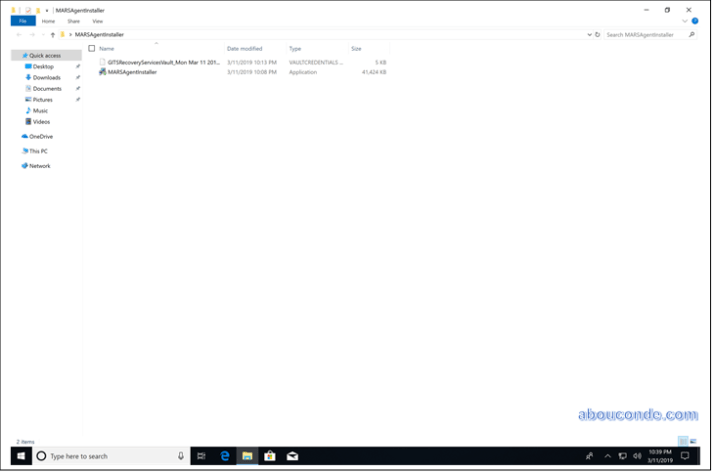
We will start by installing the Microsoft Azure Recovery Services Agent, right-click the MARSAgentInstaller file and Run as administrator to start the installation.

A Microsoft Azure Recovery Services Agent Setup Wizard will open up, choose the agent location and choose the cache location, in this guide I will go with the default locations, click Next to continue.

In the next step, we will specify how we want to connect to the Internet whenever the provider connects to the site recover portal. In my case, I have an open connection to the Internet through the default proxy settings so no need to change anything, click Next to continue.

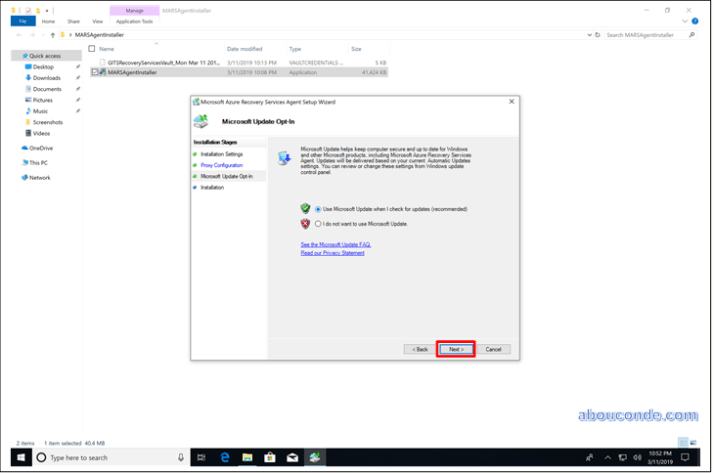
If we want to opt-in on Microsoft updates choose the first option Use Microsoft Updates when I check for updates (recommended), we can also choose not to receive any Microsoft updates, once we have chosen click Next to continue.
In the next step, The Microsoft Azure Recovery Services Agent setup wizard will list any missing prerequisites that the agent requires. The prerequisites will be downloaded automatically and the agent will be installed once click Install.

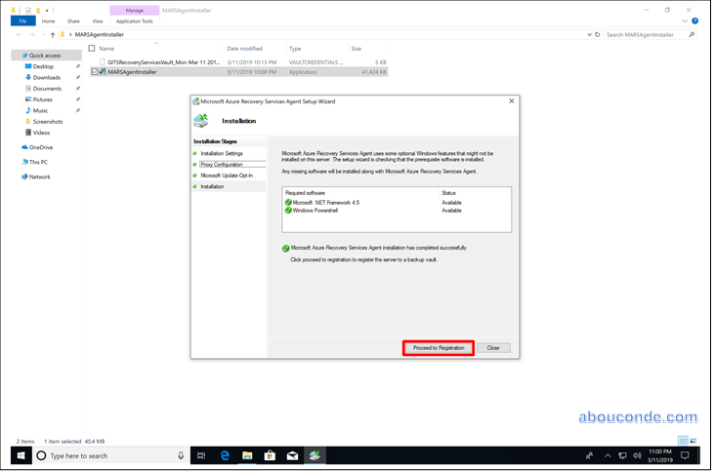
Once the prerequisites (if any required) and the agent are installed we should have received a Microsoft Azure Recovery Services Agent installation has completed successfully message.
At the end of the wizard, click Proceed to Registration.
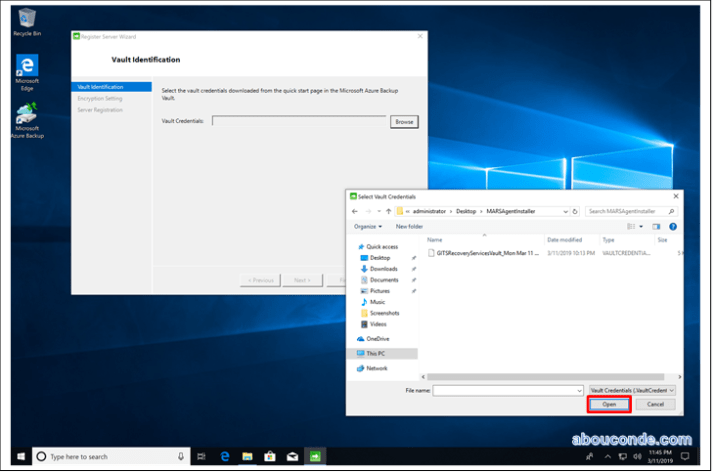
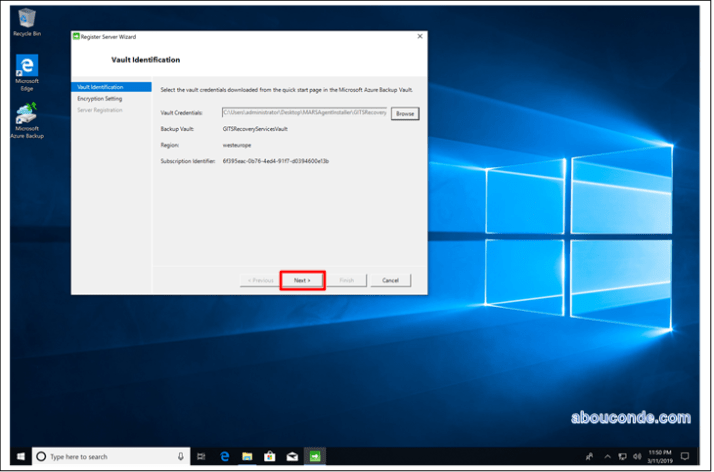
Next up we will select the vault credentials that we downloaded from our Azure portal, click on Browse and head to our folder where we saved the vault credentials and then click Open.
Once DPM has finished fetching the Backup Vault information from Azure, click Next to continue.
When prompted, provide an encryption passphrase to encrypt backups from Windows Server.
Save the passphrase in a secure location as Microsoft cannot recover the passphrase if it is lost.
Click Generate passphrase to let the wizard generate a passphrase for us.
Finish the registration by clicking.

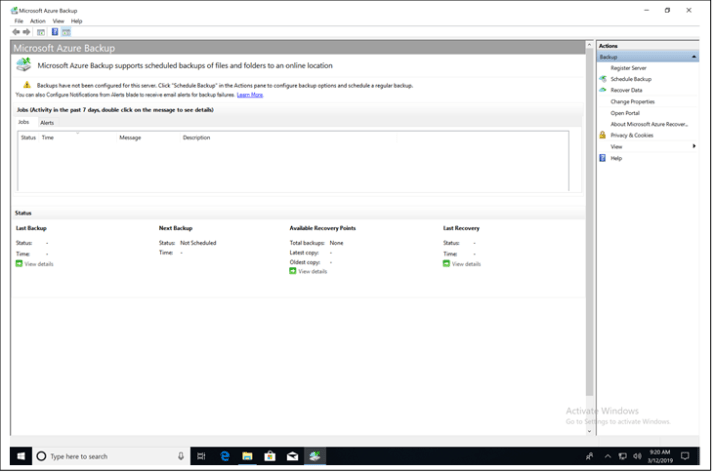
Microsoft Azure Recovery Services Agent Launch

I like it when individuals come together and share views. Great website, stick with it!
LikeLike