
Azure Backup creates recovery points that are stored in geo-redundant recovery vaults. When you restore from a recovery point, you can restore the whole VM or individual files.
This blog post shows, how to restore individual files and how to:
- List and select recovery points
- Connect a recovery point to a VM
- Restore files from a recovery point
Prerequisites
This post requires a Linux VM that has been protected with Azure Backup. To simulate an accidental file deletion and recovery process, you delete a page from a web server. If you need a Linux VM that runs a webserver and has been protected with Azure Backup, see Backing up Linux virtual machine with Azure CLI
Backup overview
When Azure initiates a backup, the backup extension on the VM takes a point-in-time snapshot. The backup extension is installed on the VM when the first backup is requested. Azure Backup can also take a snapshot of the underlying storage if the VM is not running when the backup takes place.
By default, Azure Backup takes a file system consistent backup. Once Azure Backup takes the snapshot, the data is transferred to the Recovery Services vault. To maximize efficiency, Azure Backup identifies and transfers only the blocks of data that have changed since the previous backup.
When the data transfer is complete, the snapshot is removed and a recovery point is created.
Delete a file from a VM
If you accidentally delete or make changes to a file, you can restore individual files from a recovery point. This process allows you to browse the files backed up in a recovery point and restore only the files you need.
In this example, we delete a file from a web server to demonstrate the file-level recovery process.
To connect to your VM, obtain the IP address of your VM with az vm show:
#get public IP
$recoveryServicesVaultName = “gitsRSV”
$resourceGroupName = “gitsLinux-RG”
$virtualMachineName = “gitsLinuxVM”
$location = “West Europe”
$adminName = “abou”
az vm show –resource-group $resourceGroupName –name $virtualMachineName -d –query [publicIps] –o tsv

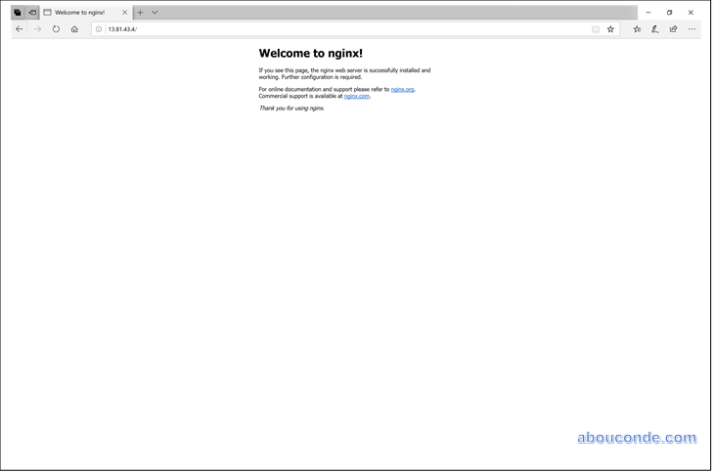
To confirm that your web site currently works, open a web browser to the public IP address of your VM.
Leave the web browser window open.
#log in to vm
Connect to your VM with SSH. Replace publicIpAddress with the public IP address that you obtained in a previous command:
ssh abou@13.81.43.4

#delete file
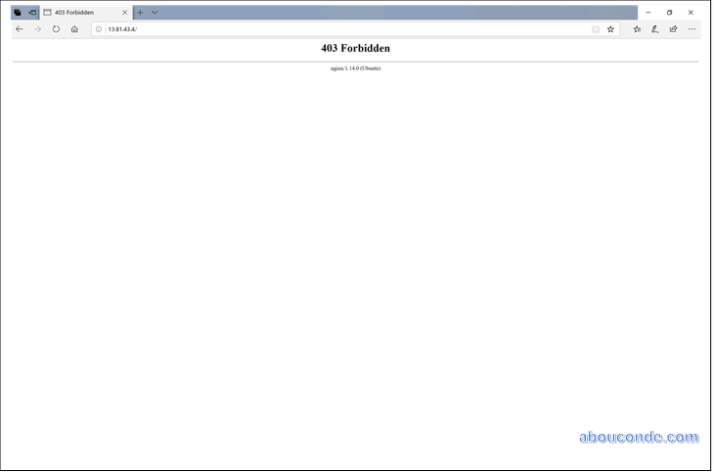
Delete the default page from the web server at /var/www/html/index.nginx-debian.html as follows:
sudo rm /var/www/html/index.nginx-debian.html
Close the SSH session to your VM as follows: exit

In your web browser, refresh the web page. The web site no longer loads the page, as shown in the following example:
# get recovery point name
To restore your files, Azure Backup provides a script to run on your VM that connects your recovery point as a local drive. You can browse this local drive, restore files to the VM itself, then disconnect the recovery point. Azure Backup continues to back up your data based on the assigned policy for schedule and retention.
To list recovery points for your VM, use az backup recoverypoint list. In this example, we select the most recent recovery point for the VM named gitsLinuxVM that is protected in gitsRSV:
az backup recoverypoint list –resource-group $resourceGroupName –vault-name $recoveryServicesVaultName –container-name $virtualMachineName –item-name $virtualMachineName –query [0].name –output tsv

# mount recovery drive
To obtain the script that connects, or mounts, the recovery point to your VM, use az backup restore files mount-rp.
The following example obtains the script for the VM named gitsLinuxVM that is protected in gitsRSV.
Replace myRecoveryPointName with the name of the recovery point that you obtained in the preceding command:
az backup restore files mount-rp –resource-group $resourceGroupName –vault-name $recoveryServicesVaultName –container-name $virtualMachineName –item-name $virtualMachineName –rp-name 194051062129556
The script is downloaded and a password is displayed, as in the following example:
File downloaded: gitsLinuxVM_we_790796330226217000_878089376802_58be8929c20341ecbf2018116b17b5ba7dcce0cff6a940.py.
Use password a6ed291fea15426

#run script
To transfer the script to your VM, use Secure Copy (SCP). Provide the name of your downloaded script, and replace publicIpAddress with the public IP address of your VM. Make sure you include the trailing : at the end of the SCP command as follows:
scp gitsLinuxVM_we_8263053753732458426_878432117748_a655598f04fc4c83b6cfe79afad78483827f56623dec41.py abou@13.80.138.19:

#log in to vm
With the recovery script copied to your VM, you can now connect the recovery point and restore files.
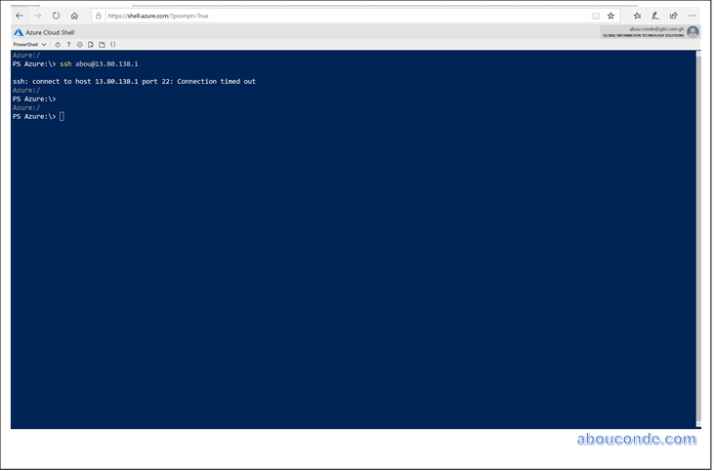
Connect to your VM with SSH. Replace publicIpAddress with the public IP address of your VM as follows:
ssh abou@13.80.138.19
# add execute permissions
To allow your script to run correctly, add execute permissions with chmod. Enter the name of your own script:
chmod +x gitsLinuxVM_we_8263053753732458426_878432117748_a655598f04fc4c83b6cfe79afad78483827f56623dec41.py
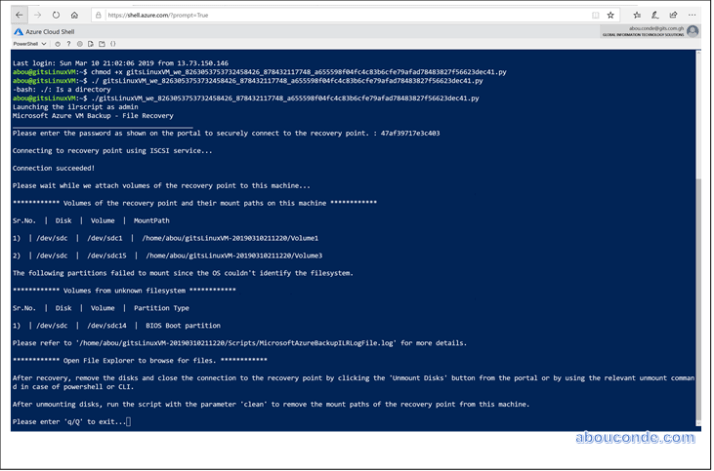
To mount the recovery point, run the script. Enter the name of your own script:
./gitsLinuxVM_we_8263053753732458426_878432117748_a655598f04fc4c83b6cfe79afad78483827f56623dec41.py
As the script runs, you are prompted to enter a password to access the recovery point. Enter the password shown in the output from the previous az backup restore files mount-rp command that generated the recovery script. The output from the script gives you the path for the recovery point. The following example output shows that the recovery point is mounted at/home/abou/gitsLinuxVM-20190310211220/Volume1
Use cp to copy the NGINX default web page from the mounted recovery point back to the original file location
sudo cp /home/abou/gitsLinuxVM-20190310211220/Volume1/var/www/html/index.nginx-debian.html /var/www/html/

In your web browser, refresh the web page. The web site now loads correctly again, as shown in the following example:

