
Azure virtual machines (VMs) can be created through the Azure portal. The Azure portal is a browser-based user interface to create VMs and their associated resources.
In this post I’ll show you how to use the Azure portal to deploy a Linux virtual machine (VM) running Ubuntu 18.04 LTS
Sign in to Azure
Sign in to the Azure portal.
Create virtual machine
Choose Create a resource in the upper left corner of the Azure portal.
In the Azure Marketplace resources, select Ubuntu Server 18.04 LTS by Canonical, to Create.

In the Basics tab, under Project details, make sure the correct subscription is selected and then choose to Create new under Resource group.
In the pop-up, type LinuxServers for the name of the resource group and then choose OK.
Under Instance details, type SRV2 for the Virtual machine name and choose West Europe for your Region. Leave the other defaults.

Under Administrator account, select Password, type your user name and password.
Under Inbound port rules > Public inbound ports, choose Allow selected ports and then select SSH (22) and HTTP (80) from the drop-down.

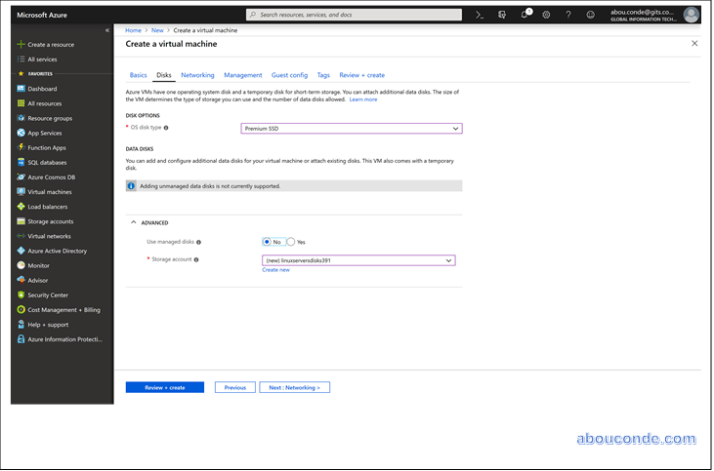
In the Disk tab, under Disk Options, choose Premium SSD and No for managed disks
In the Networking tab, leave the default settings
Under Inbound port rules > Public inbound ports, choose Allow selected ports and then select SSH (22) and HTTP (80) from the drop-down.

In the Management tab, leave the default settings

In the Guest Config tab, leave the default settings

Summary of all the settings that you entered. Click Create

Deployment Completed Successfully

In the Connect to virtual machine page, keep the default options to connect by Public IP address over port 22.


One thought on “Deploying a Linux Ubuntu Server 18.04 LTS virtual machine using Azure portal”