An Azure storage account contains all of your Azure Storage data objects: blobs, files, queues, tables, and disks.
Data in your Azure storage account is durable and highly available, secure, massively scalable, and accessible from anywhere in the world over HTTP or HTTPS.
In this post I’ll show you how to create Azure Storage Account
General-purpose v1
Azure Storage provides three types of storage accounts. Each type supports different features and has its own pricing model.
Consider these differences before you create a storage account to determine the type of account that is best for your applications.
The types of storage accounts are:
- General-purpose v2 accounts (recommended for most scenarios)
- General-purpose v1 accounts
- Blob storage accounts
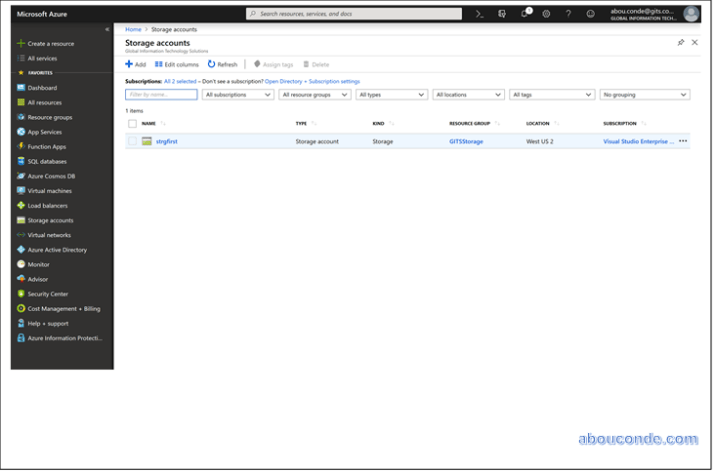
In the Azure portal, select All services. In the list of resources, type Storage Accounts.
As you begin typing, the list filters based on your input. Select Storage Accounts.

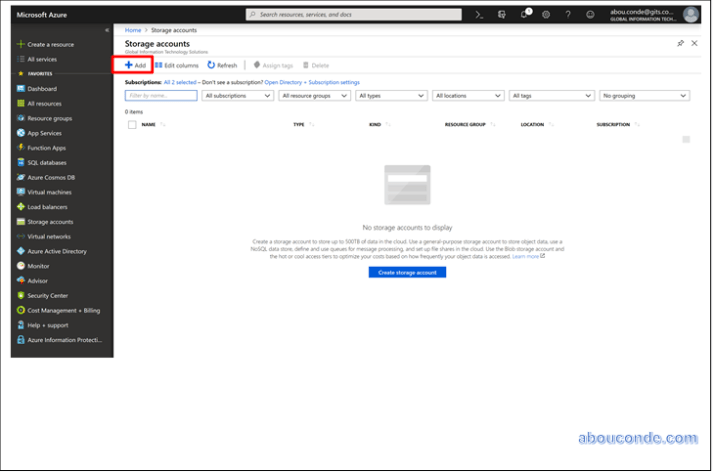
On the Storage Accounts window that appears, choose Add.
In the Basics tab, under Project details, make sure the correct subscription is selected and then choose to Create new resource group.
Select the subscription in which to create the storage account.
Under the Resource group field, select Create new. Enter a name for your new resource group, as shown in the following image.
Next, enter a name for your storage account. The name you choose must be unique across Azure. The name also must be between 3 and 24 characters in length, and can include numbers and lowercase letters only.
Select a location for your storage account, or use the default location.
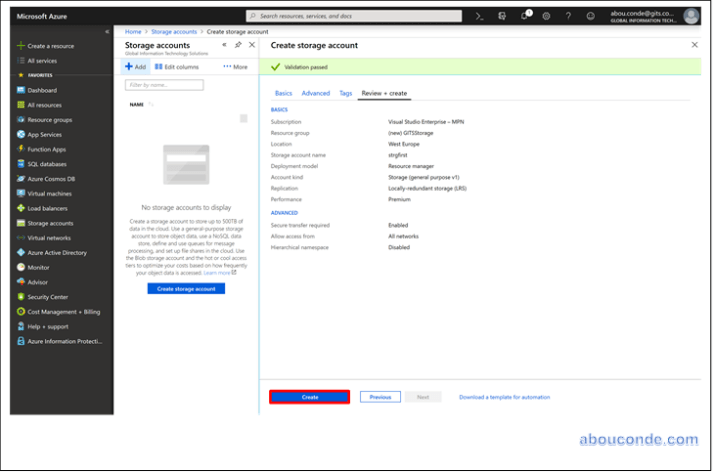
Leave these fields set to their default values:
| Field | Value |
| Deployment model | Resource Manager |
| Performance | Premium |
| Account kind | Storage (general-purpose v1) |
| Replication | Locally redundant storage (LRS) |
Select Review + Create

Review your storage account settings and create the account.
Select Create.
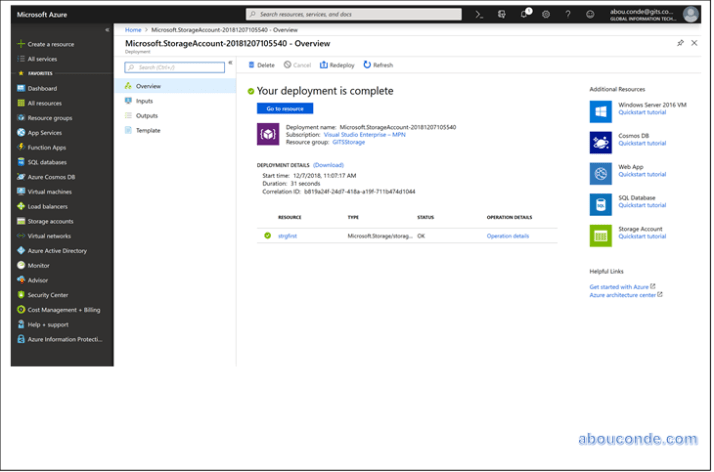
Storage Account successfully deployed
General-purpose v1 accounts