Overview
Point-to-Site VPN connections are useful when you want to connect to Azure from a remote location, such as when you are telecommuting from home or a conference. You can also use P2S instead of a Site-to-Site VPN when you have only a few clients that need to connect to Azure. Point-to-Site connections do not require a VPN device or a public-facing IP address. P2S creates the VPN connection over either SSTP (Secure Socket Tunneling Protocol), or IKEv2.
Create a virtual network
Sign in to the Azure portal.
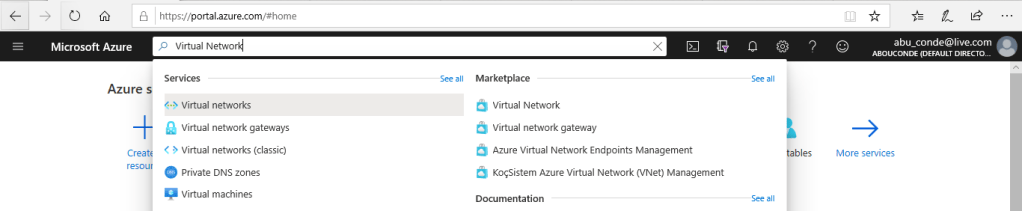
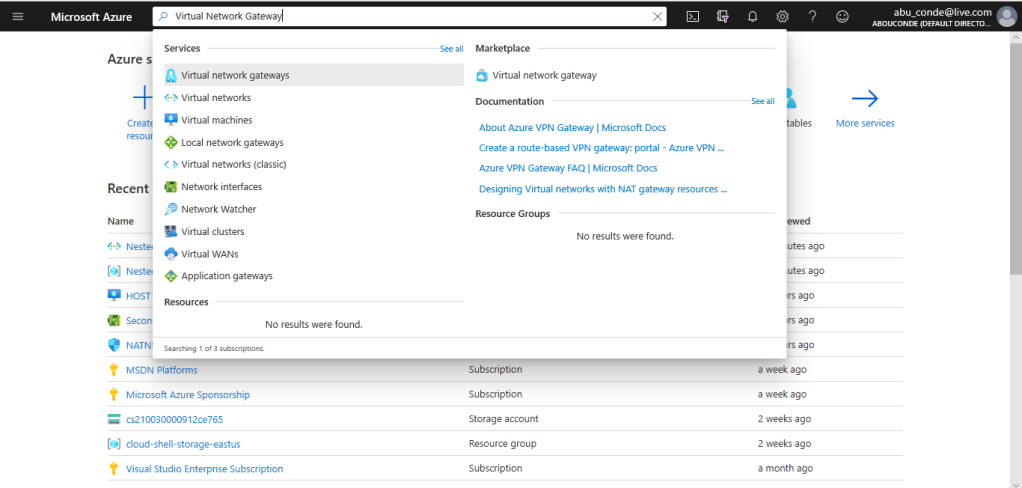
In Search resources, service, and docs (G+/), type virtual network

Select Virtual Network from the Marketplace results
On the Virtual Network page, select Create.
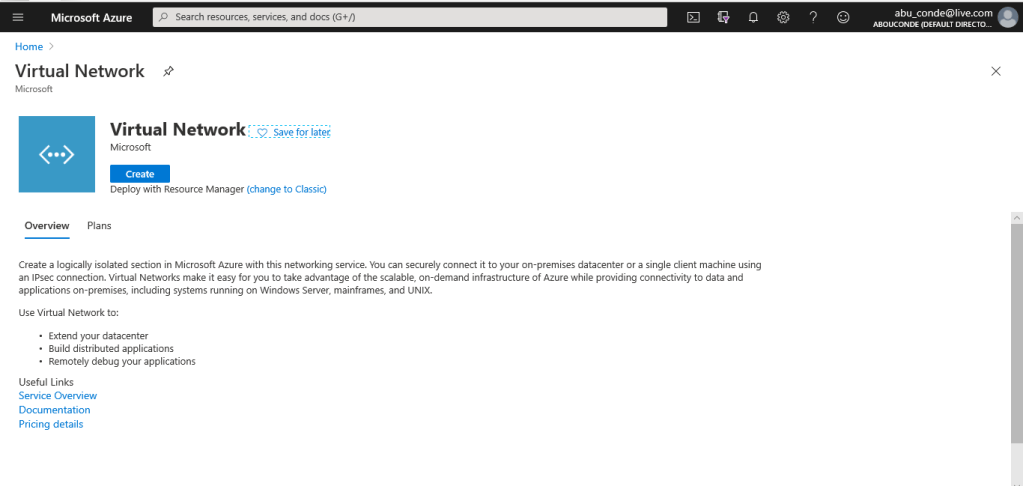
Once you select Create, the Create virtual network page opens.
On the Basics tab, configure Project details and Instance details VNet settings.
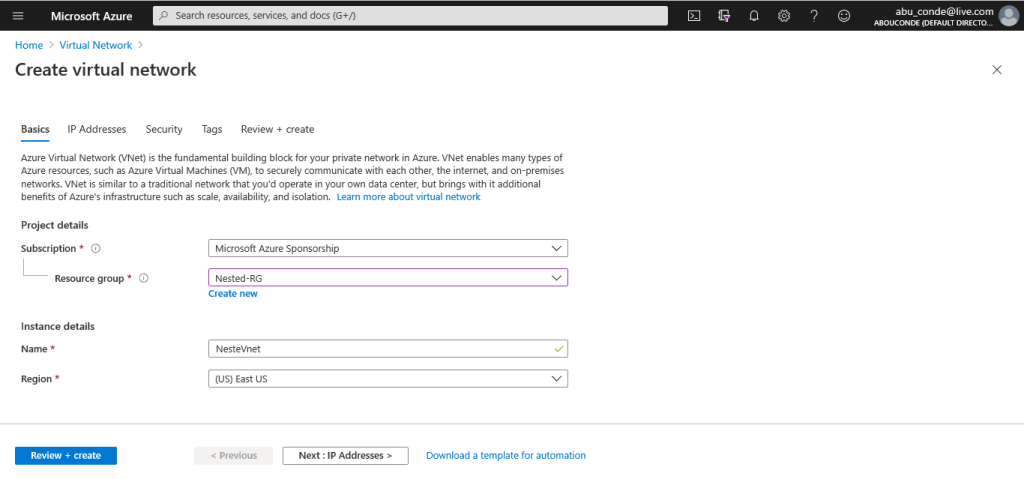
You can use the following values to create a test environment, or refer to these values to better understand the examples in this article:
- VNet Name: NestedVnet
- Address space: 192.168.0.0/16
For this example, we use only one address space. You can have more than one address space for your VNet. - Subnet name: NAT
- Subnet address range: 192.168.0.0/24
- Subscription: If you have more than one subscription, verify that you are using the correct one.
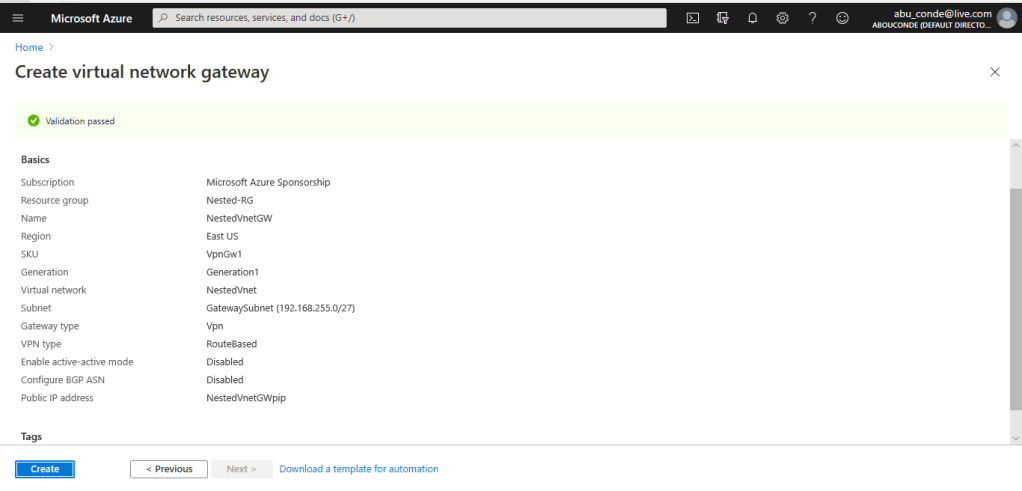
- Resource Group: Nested-RG
- Location: East US
- GatewaySubnet: 192.168.255.0/27
- Virtual network gateway name: NestedVnetGW
- Gateway type: VPN
- VPN type: Route-based
- Public IP address name: NestedVnetGWpip
- Connection type: Point-to-site
On the IP Addresses tab, configure the values. The values shown in the examples below are for demonstration purposes.
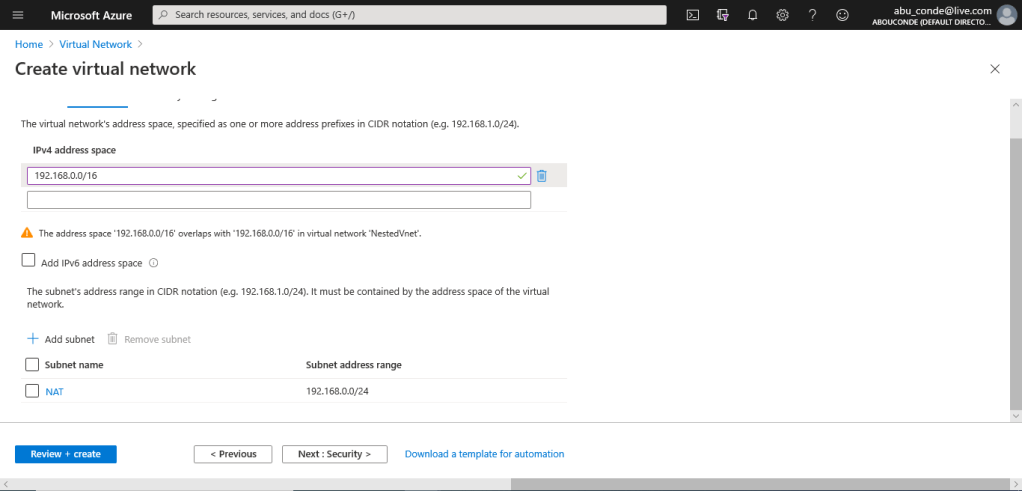
Select Review + create to validate the virtual network settings.
After the settings have been validated, select Create.
Create a virtual network gateway
In this step, you create the virtual network gateway for your VNet. Creating a gateway can often take 45 minutes or more, depending on the selected gateway SKU.
Microsoft recommends that you create a gateway subnet that uses a /27 or /28.
In the Search the Marketplace field, type ‘Virtual Network Gateway’. Locate Virtual network gateway in the search return and select the entry. On the Virtual network gateway page, select Create. This opens the Create virtual network gateway page.
On the Basics tab, fill in the values for your virtual network gateway.
Instance details
- Name: Name your gateway. Naming your gateway not the same as naming a gateway subnet. It’s the name of the gateway object you are creating.
- Region: Select the region in which you want to create this resource. The region for the gateway must be the same as the virtual network.
- Gateway type: Select VPN. VPN gateways use the virtual network gateway type VPN.
- VPN type: Select the VPN type that is specified for your configuration. Most configurations require a Route-based VPN type.
- SKU: Select the gateway SKU from the dropdown. The SKUs listed in the dropdown depend on the VPN type you select. For more information about gateway SKUs, see Gateway SKUs.
- Generation: For information about VPN Gateway Generation, see Gateway SKUs.
- Virtual network: From the dropdown, select the virtual network to which you want to add this gateway.
- Gateway subnet address range: This field only appears if your VNet doesn’t have a gateway subnet. If possible, make the range /27 or larger (/26,/25 etc.). We don’t recommend creating a range any smaller than /28. If you already have a gateway subnet, you can view GatewaySubnet details by navigating to your virtual network. Click Subnets to view the range. If you want to change the range, you can delete and recreate the GatewaySubnet.
Public IP address: This setting specifies the public IP address object that gets associated to the VPN gateway. The public IP address is dynamically assigned to this object when the VPN gateway is created. The only time the Public IP address changes is when the gateway is deleted and re-created. It doesn’t change across resizing, resetting, or other internal maintenance/upgrades of your VPN gateway.
- Public IP address: Leave Create new selected.
- Public IP address name: In the text box, type a name for your public IP address instance.
- Assignment: VPN gateway supports only Dynamic.
Active-Active mode: Only select Enable active-active mode if you are creating an active-active gateway configuration. Otherwise, leave this setting unselected.
Leave Configure BGP ASN deselected, unless your configuration specifically requires this setting. If you do require this setting, the default ASN is 65515, although this can be changed.
- Select Review + create to run validation. Once validation passes, select Create to deploy the VPN gateway. A gateway can take up to 45 minutes to fully create and deploy. You can see the deployment status on the Overview page for your gateway.
After the gateway is created, you can view the IP address that has been assigned to it by looking at the virtual network in the portal. The gateway appears as a connected device.
Create a self-signed root certificate
Certificates are used by Azure to authenticate clients connecting to a VNet over a Point-to-Site VPN connection.
Use the New-SelfSignedCertificate cmdlet to create a self-signed root certificate.
From a computer running Windows 10 or Windows Server 2016, open a Windows PowerShell console with elevated privileges
$cert = New-SelfSignedCertificate -Type Custom -KeySpec Signature `
-Subject "CN=P2SRootCert" -KeyExportPolicy Exportable `
-HashAlgorithm sha256 -KeyLength 2048 `
-CertStoreLocation "Cert:\CurrentUser\My" -KeyUsageProperty Sign -KeyUsage CertSign
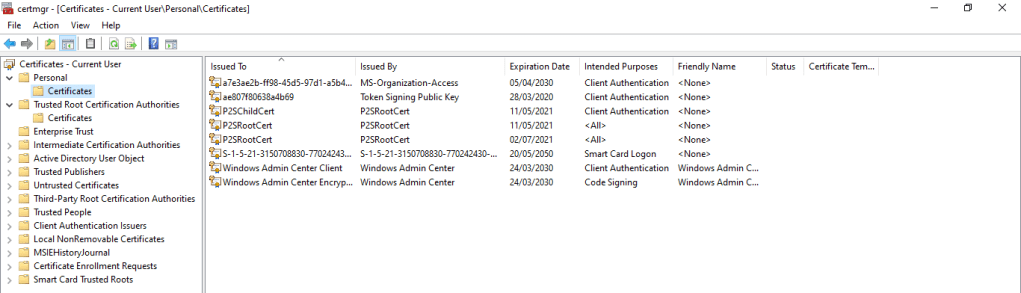
You can view the certificate by opening certmgr.msc, or Manage User Certificates.
Export the root certificate public key (.cer)
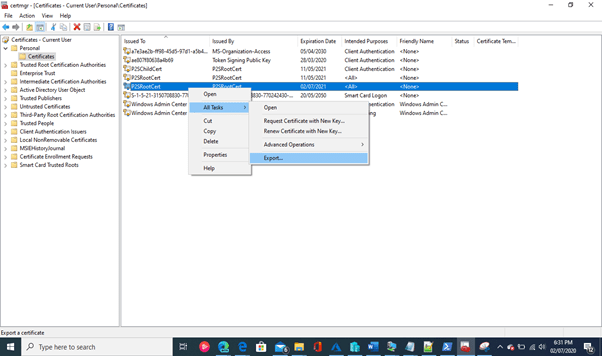
To obtain a .cer file from the certificate, locate the self-signed root certificate, typically in ‘Certificates – Current User\Personal\Certificates’, and right-click. Click All Tasks, and then click Export
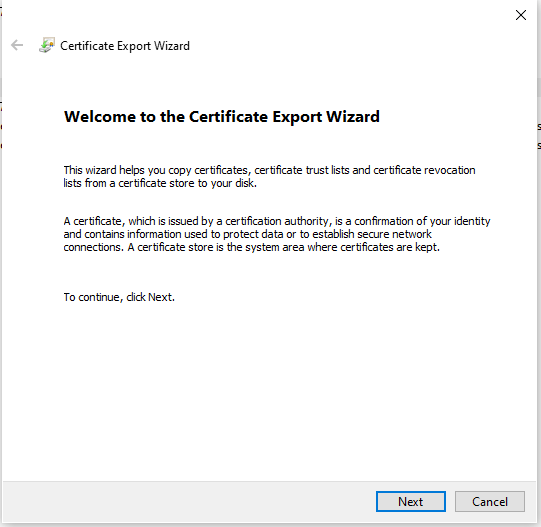
In the Wizard, click Next.
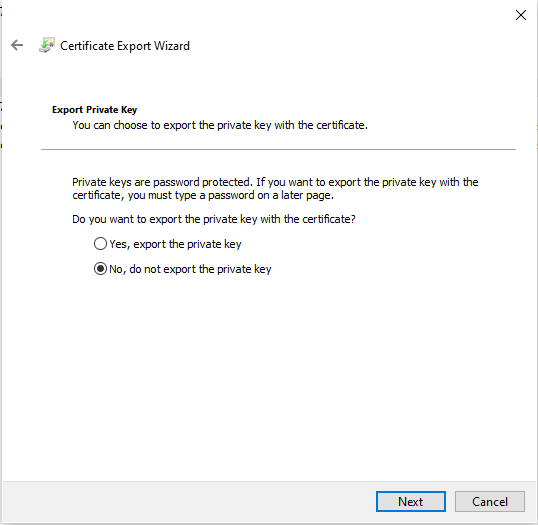
Select No, do not export the private key, and then click Next.
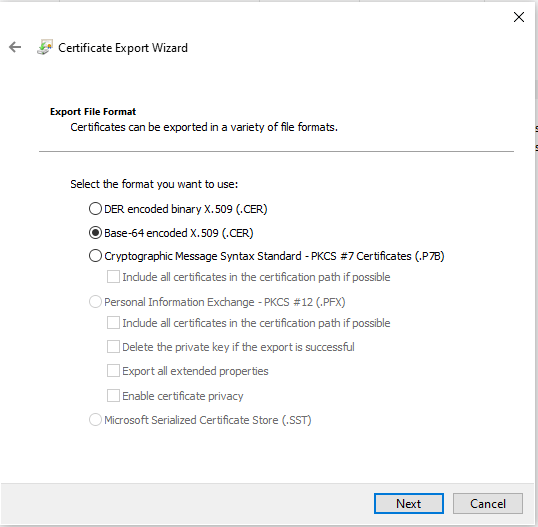
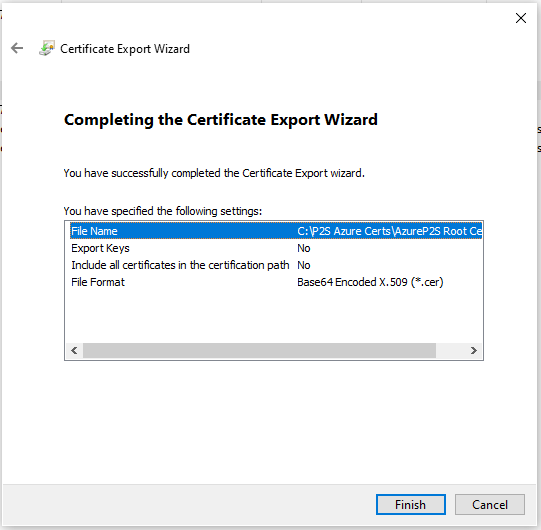
On the Export File Format page, select Base-64 encoded X.509 (.CER)., and then click Next.
For File to Export, Browse to the location to which you want to export the certificate. For File name, name the certificate file. Then, click Next.

Click Finish to export the certificate.
Your certificate is successfully exported
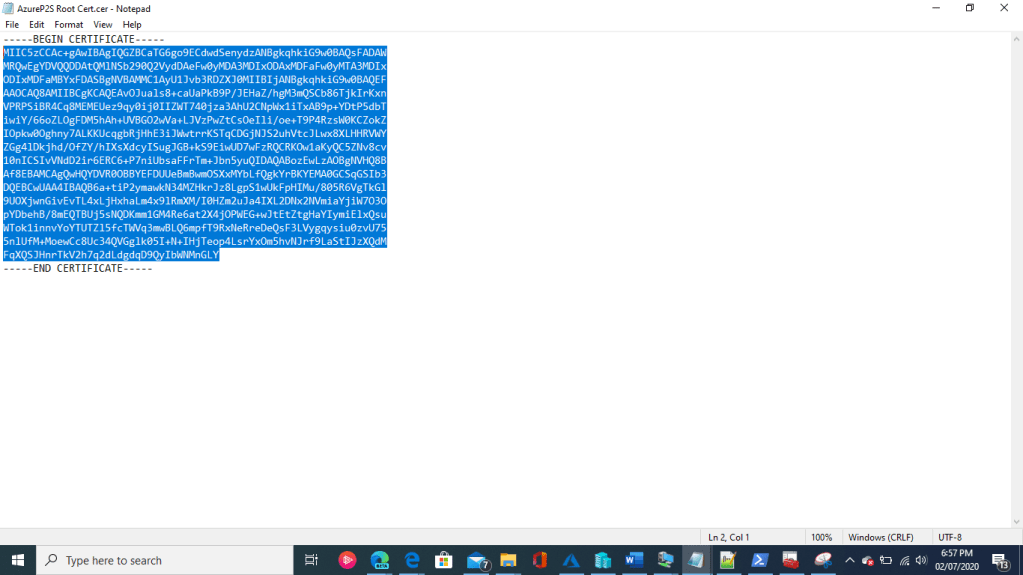
The exported certificate looks similar to this:
If you open the exported certificate using Notepad, you see something similar to this example. The section in blue contains the information that is uploaded to Azure. If you open your certificate with Notepad and it does not look similar to this, typically this means you did not export it using the Base-64 encoded X.509(.CER) format. Additionally, if you want to use a different text editor, understand that some editors can introduce unintended formatting in the background. This can create problems when uploaded the text from this certificate to Azure.
Add the client address pool
The client address pool is a range of private IP addresses that you specify. The clients that connect over a Point-to-Site VPN dynamically receive an IP address from this range. Use a private IP address range that does not overlap with the on-premises location that you connect from, or the VNet that you want to connect to. If you configure multiple protocols and SSTP is one of the protocols, then the configured address pool is split between the configured protocols equally.
Once the virtual network gateway has been created, navigate to the Settings section of the virtual network gateway page. In the Settings section, select User VPN Configuration. Select Configure now to open the configuration page.
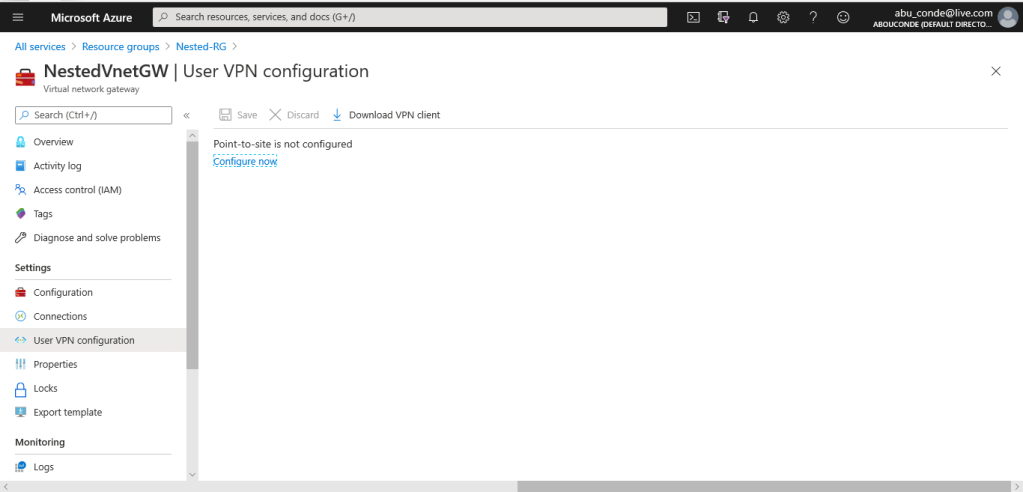
On the User VPN configuration page, you can configure a variety of settings. If you don’t see Tunnel type or Authentication type on this page, your gateway is using the Basic SKU. The Basic SKU does not support IKEv2 or RADIUS authentication.
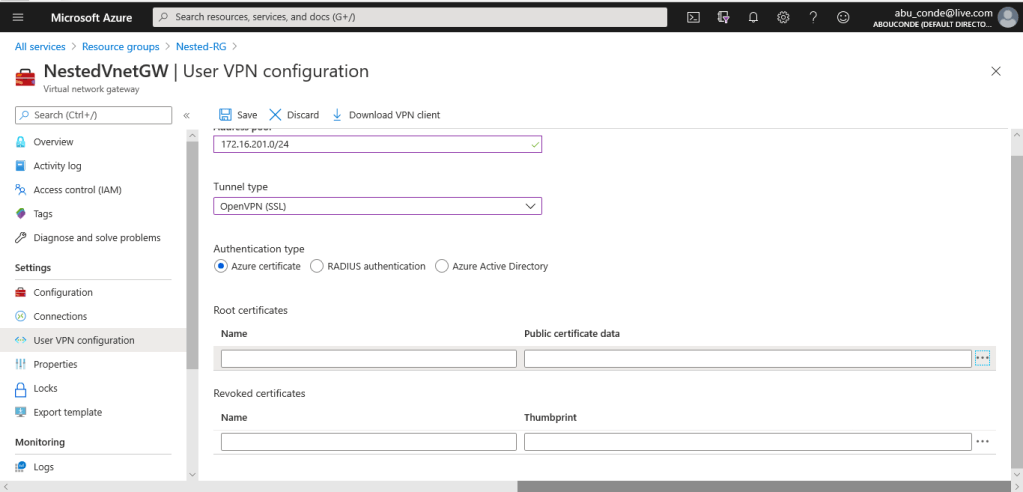
Configure tunnel type
You can select the tunnel type. The tunnel options are OpenVPN, SSTP and IKEv2.
- The strongSwan client on Android and Linux and the native IKEv2 VPN client on iOS and OSX will use only IKEv2 tunnel to connect.
- Windows clients try IKEv2 first and if that doesn’t connect, they fall back to SSTP.
- You can use the OpenVPN client to connect to the OpenVPN tunnel type.

Configure authentication type
For Authentication type, select Azure certificate.

Upload the root certificate public certificate data
Paste the certificate data into the Public Certificate Data field. Name the certificate, and then select Save. You can add up to 20 trusted root certificates.

Select Save at the top of the page to save all of the configuration settings.

Generate and install the VPN client configuration package
At the top of the Point-to-site configuration page, click Download VPN client. It takes a few minutes for the client configuration package to generate.

Your browser indicates that a client configuration zip file is available. It is named the same name as your gateway. Unzip the file to view the folders.
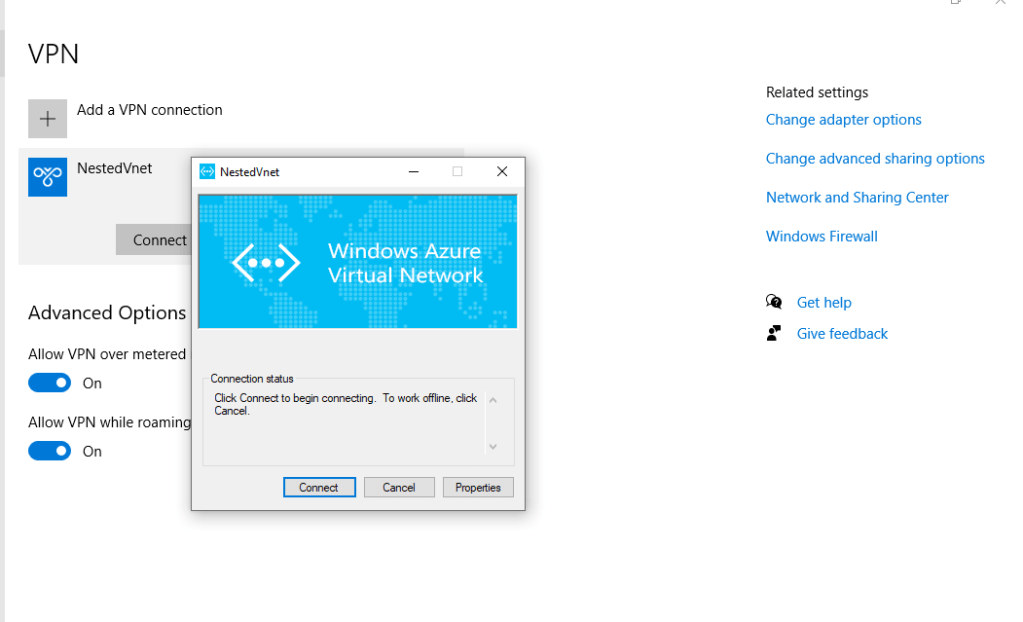
Connect to Azure
To connect to your VNet, on the client computer, navigate to VPN connections and locate the VPN connection that you created. It is named the same name as your virtual network. Select Connect. A pop-up message may appear that refers to using the certificate. Select Continue to use elevated privileges.
On the Connection status page, select Connect to start the connection. If you see a Select Certificate screen, verify that the client certificate showing is the one that you want to use to connect. If it is not, use the drop-down arrow to select the correct certificate, and then select OK.