Overview
Azure virtual machines (VMs) can be created through the Azure portal. This method provides a browser-based user interface to create VMs and their associated resources.
This blog post shows how to deploy VMs that runs Windows Server 2019 into peered VNets after Configuring VNet Peering using the Azure portal
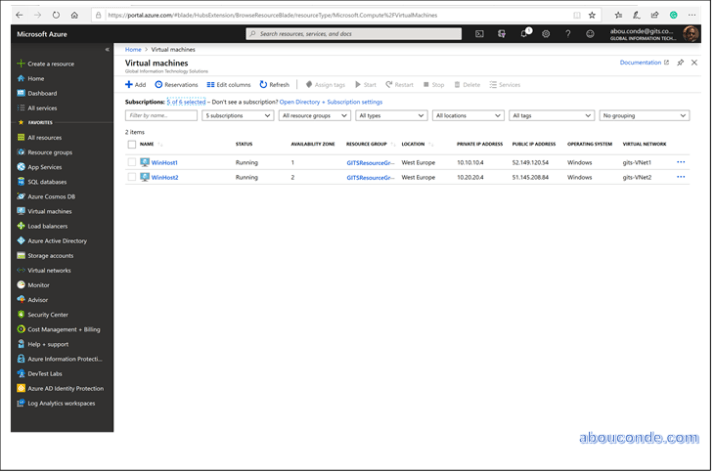
We are creating two VMs named: WinHost1 and WinHost2.
Sign in to Azure
Sign in to the Azure portal at https://portal.azure.com.
Create virtual machine
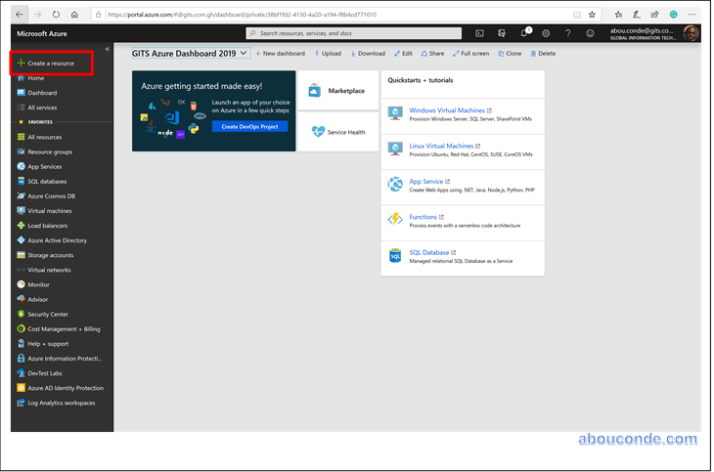
Choose Create a resource in the upper left-hand corner of the Azure portal.
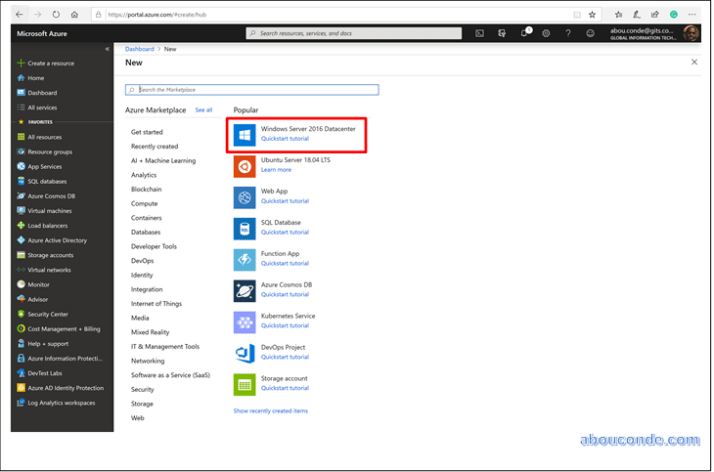
In the New page, under Popular, select Windows Server 2016 Datacenter.
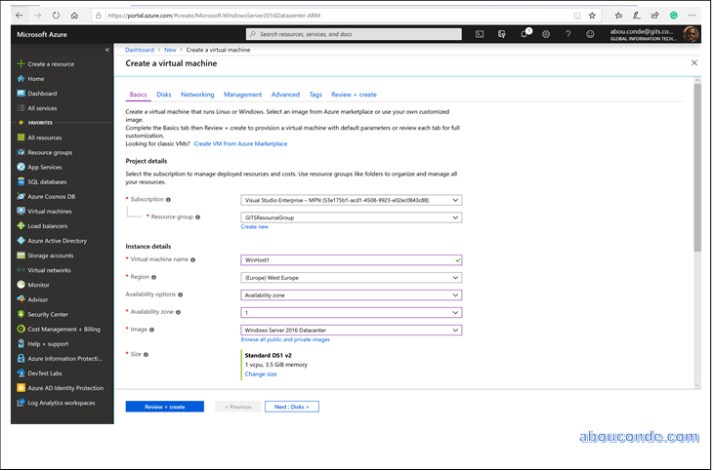
In the Basics tab, under Project details, make sure the correct subscription is selected and then choose to gitsResourceGroup resource group.
Under Instance details, type WinHost1 for the Virtual machine name and choose West Europe for your Location. Leave the other defaults.
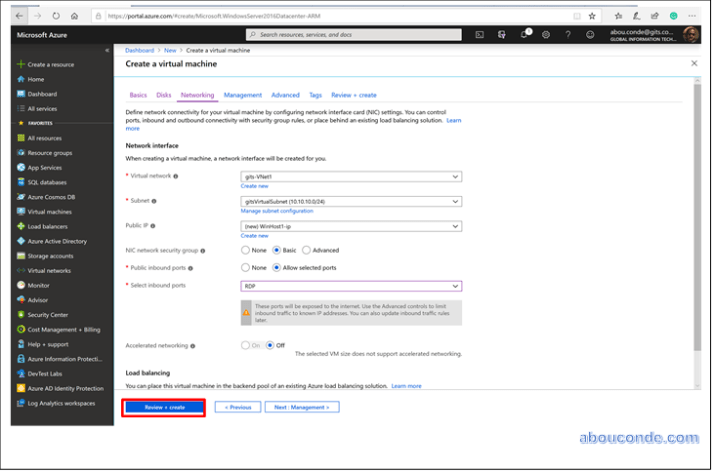
On Networking tab, Select Virtual Network gits-VNet1, Subnet and Public IP WinHost1-ip, then
Click Review + create.
WinHost1 deployment is completed

Follow the same steps to create WinHost2