
PIM Overview
With Azure Active Directory (Azure AD) Privileged Identity Management (PIM), you can manage, control, and monitor access within your organization. This scope includes access to Azure resources, Azure AD and other Microsoft online services like Office 365 or Microsoft Intune.
This blog post shows how to plan the deployment of Azure Active Directory (Azure AD) Privileged Identity Management (PIM) in your organization.
Prerequisites
To use PIM, your directory must have one of the following paid or trial licenses:
- Azure AD Premium P2
- Enterprise Mobility + Security (EMS) E5
- Microsoft 365 M5
Enable PIM
To start using PIM in your directory, you must first enable PIM.
Sign in to the Azure portal as a Global Administrator of your directory.
Click All services and find the Azure AD Privileged Identity Management service.

Click to open the PIM Quickstart. In the list, click Consent to PIM.
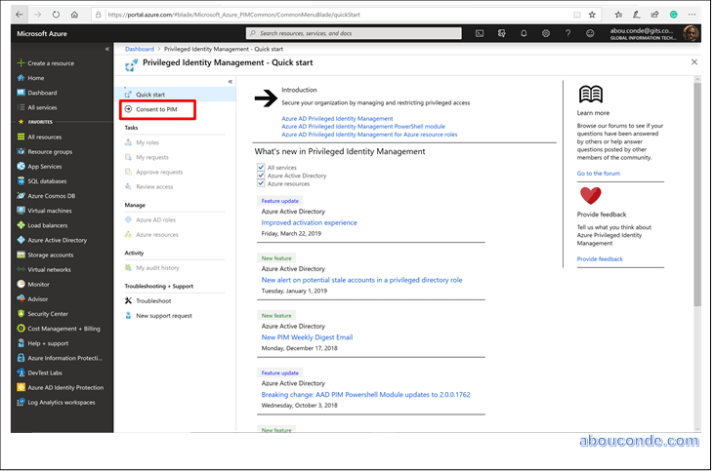
In the message that appears, click Yes to consent to the PIM service.

Sign up PIM for Azure AD roles
Once you have enabled PIM for your directory, you’ll need to sign up PIM to manage Azure AD roles.
Open Azure AD Privileged Identity Management.
Click Azure AD roles.

Click Sign up.
In the message that appears, click Yes to sign up PIM to manage Azure AD roles.
When sign up completes, the Azure AD options will be enabled. You might need to refresh the portal.

Navigate to your tasks
Once PIM is set up, you can perform your identity management tasks.


2 thoughts on “Enabling Azure AD Privileged Identity Management (PIM)”