This guide covers the basics so you can get up and running using Git with code already in Azure DevOps Services or Team Foundation Server (TFS).
If you don’t have your code in an Azure DevOps Services or TFS Git repo, visit my previous post Create Azure DevOps project and Git Repository to learn how to create a local repo for your code and push it to Azure Repos.
Get your code
To get a copy of the source code, you clone a Git repository. Cloning creates both a copy of the source code for you to work with and all the version control information so Git can manage the source code.
If you don’t have a Git repository yet, you can Create a local Git Repository in Visual Studio 2019 and continue with the steps in this post to commit and share your work.
In Team Explorer, open up the Connect page by selecting the Connect icon, and then choose Manage Connections, Connect to Project.
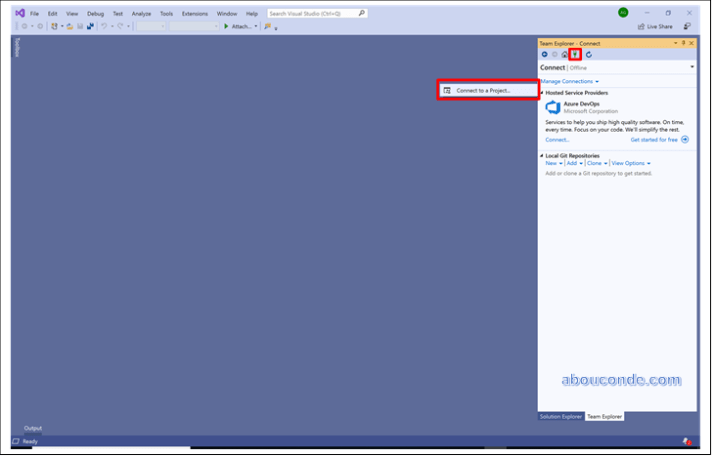
On the Connect to a Project dialog, select the repo you want to clone from the list and select Clone. If you don’t see your repo listed, you can filter the list to find it or add a Team Foundation Server where the repo is hosted by selecting the Add Azure DevOps Server link.
Verify the location of the cloned repo on your PC and select Clone.

Commit your work
Git branches isolate your changes from other work being done in the project. The recommended Git workflow uses a new branch for every feature or fix you work on. You make commits in your local Git repository to save your changes on that branch.
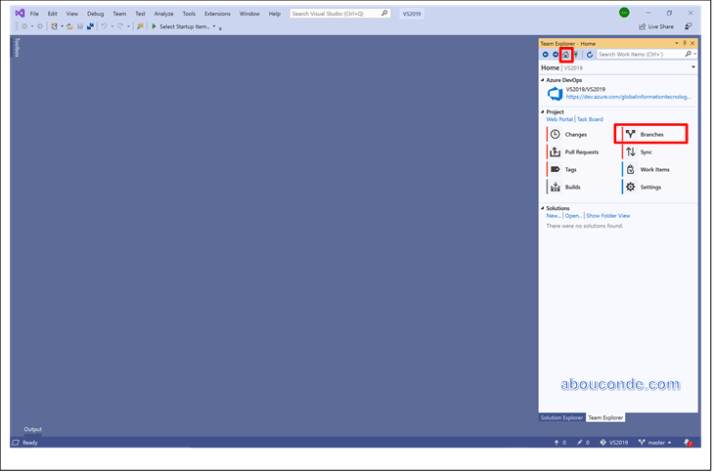
In Team Explorer, select the Home icon and choose Branches.
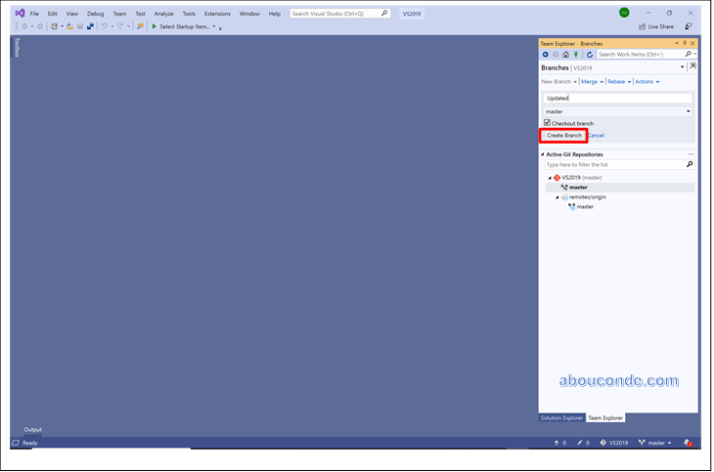
Right click the master branch and choose New Local Branch From…
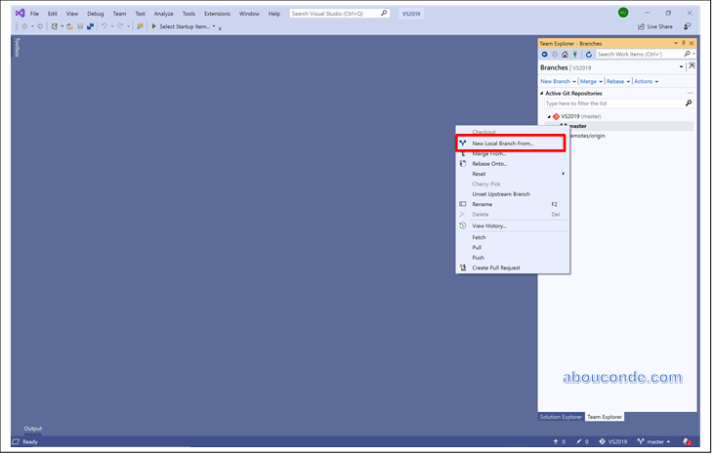
Choose a descriptive branch name for your work to remind you and others what kind of work is in the branch, and select Create Branch.
Make changes to your files in the cloned repo. From the Team Explorer Home view, you can open up Visual Studio solutions in the repo or browse the repo contents using the Show Folder View link. Git keeps track of changes made to your code both inside and outside of Visual Studio.
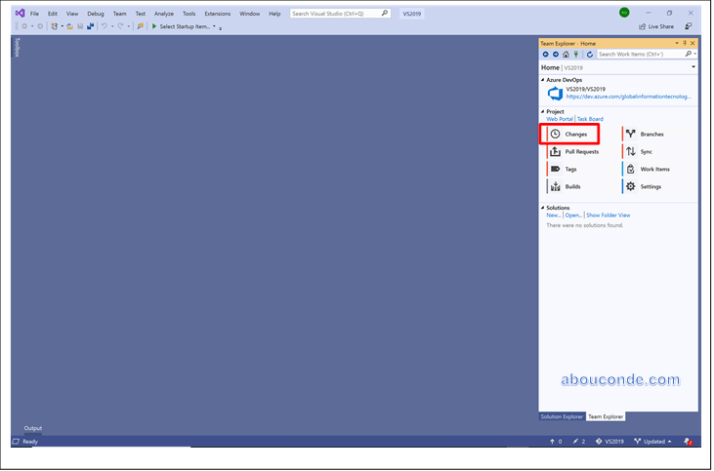
When you are satisfied with the changes, save them in Git using a commit. Open up the Changes view from Team Explorer by selecting the Home icon and choosing Changes.
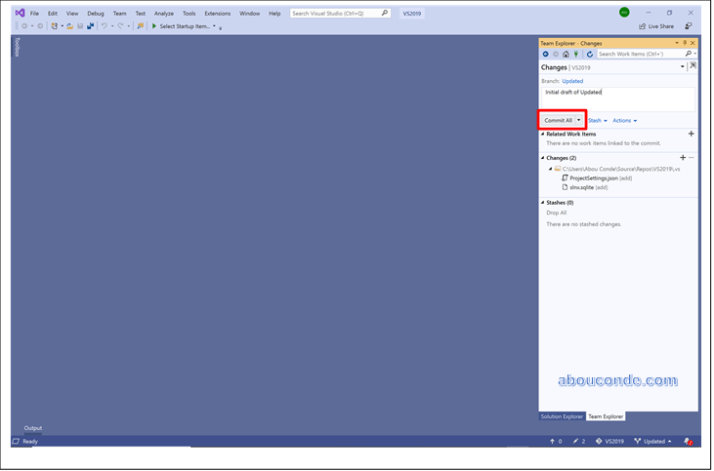
Enter a message describing the commit, and select Commit All.
Share your changes
When you are ready to share your changes with the team, you can push those changes so that others can reach them. You can only push changes after you add commits to a branch.
Once you push the changes, you can create a pull request to let others know you’d like to have the changes reviewed and added to the master branch of the code.
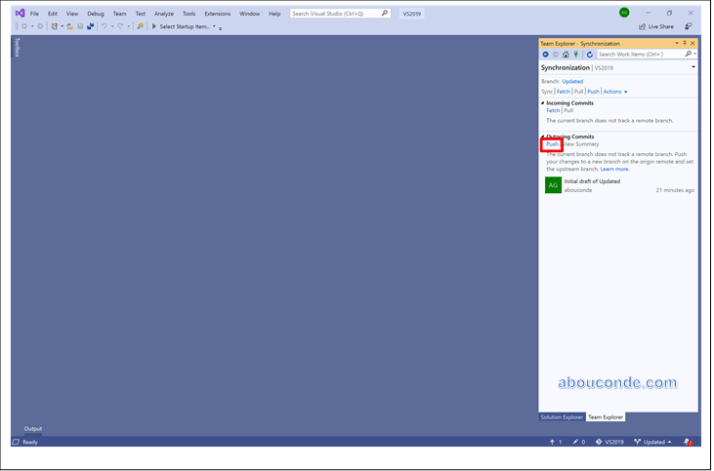
Open up the Synchronization view in Team Explorer by selecting the Home icon and choosing Sync.

Select Push to share your commit with the remote repository.
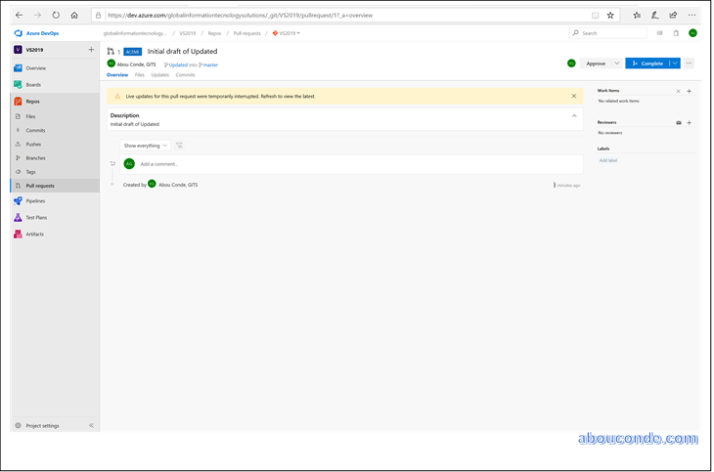
Create a pull request so that others can review your changes. Open Pull Requests in Team Explorer by selecting the Home icon and choosing Pull Requests.
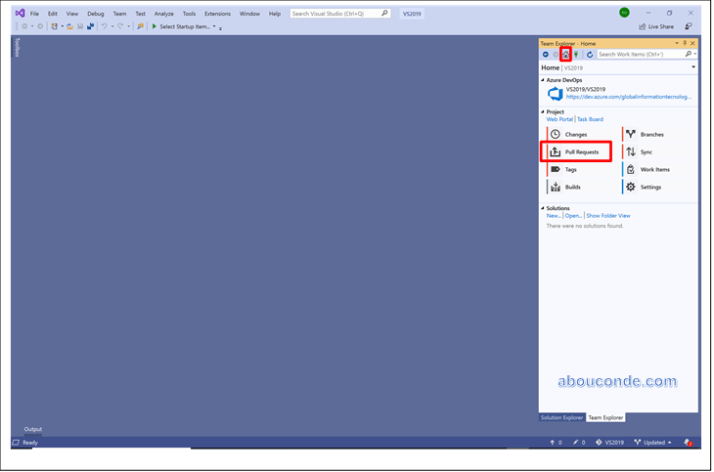
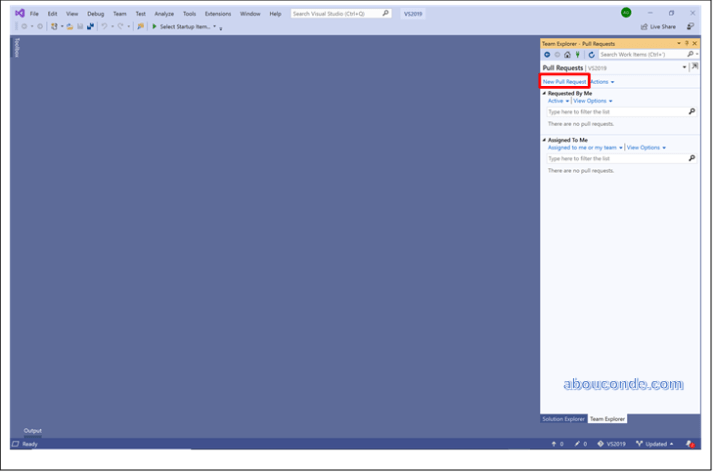
From the Pull Requests view you can view pull requests opened by you, assigned to you, and you can create new pull requests. Select New Pull Request to open up a web browser where you can create the new pull request in the Azure DevOps Services web portal.
Verify your branches (in this example we want to merge the commits from the Updated
branch into the
master
branch), enter a title and optional description, specify any reviewers, optionally associate any work items, and select Create.
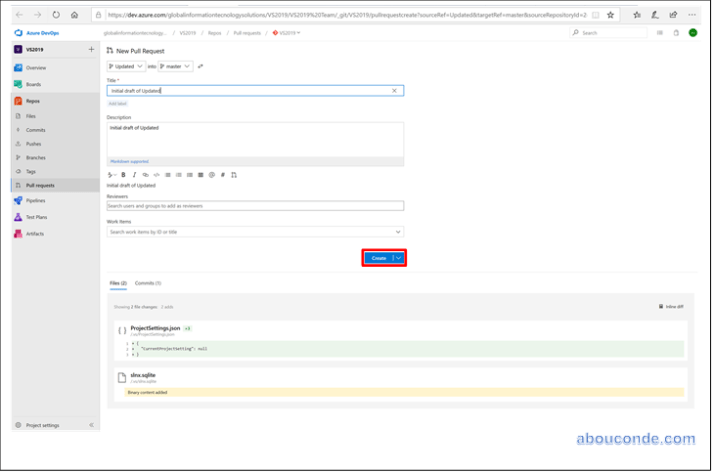
Welcome to the new pull request experience.