With Microsoft Azure Storage Explorer, you can attach to external storage accounts so that storage accounts can be easily shared.
This blog post show how to attach to (and detach from) external storage accounts.
Get the storage account credentials
To share an external storage account, the owner of that account must first get the credentials (account name and key) for the account and then share that information with the person who wants to attach to said account.
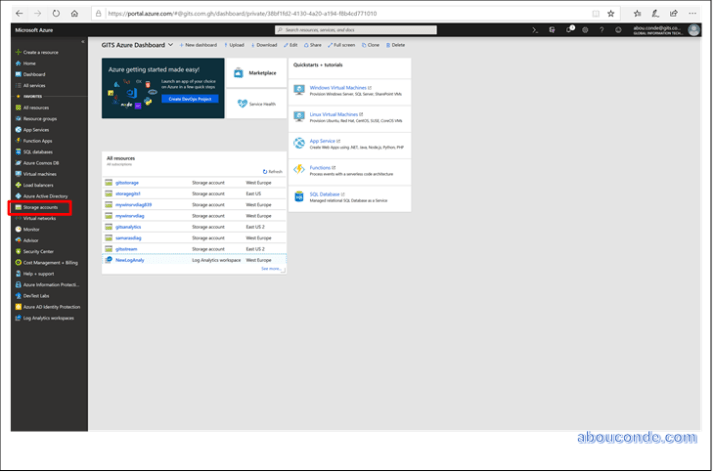
You can obtain the storage account credentials via the Azure portal by doing the following steps:
Sign in to the Azure portal.
Select Storage accounts.
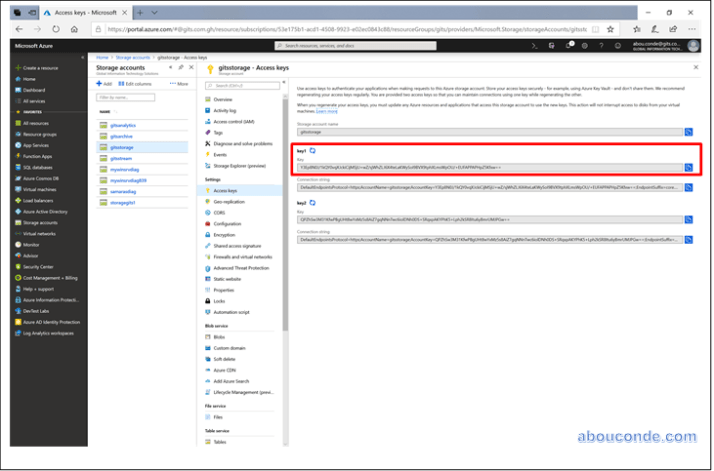
In the list of Storage Accounts, select the desired storage account.
Under Settings, select Access keys.

Copy the Storage account name and key1.
Attach to an external storage account
To attach to an external storage account, you need the account’s name and key. The “Get the storage account credentials” section explains how to obtain these values from the Azure portal. However, in the portal, the account key is called key1.
So, when Storage Explorer asks for an account key, you enter the key1 value.
In Storage Explorer, open the Connect Dialog.

In the Connect Dialog, choose Use a storage account name and key

Paste your account name in the Account name text box, and paste your account key (the key1 value from the Azure portal) into the Account key text box, and then select Next.

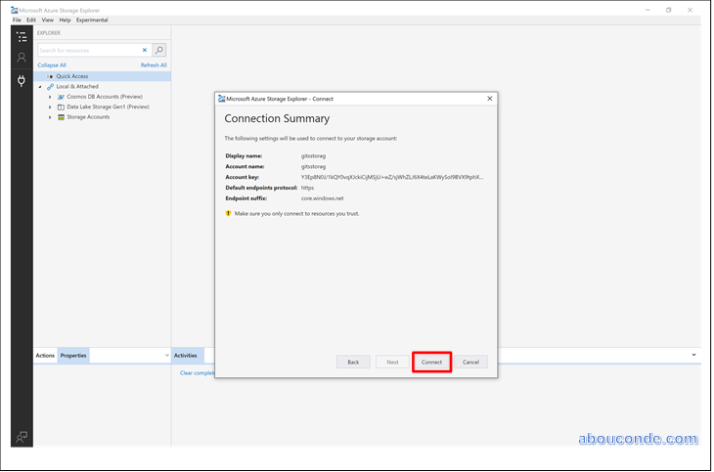
In the Connection Summary dialog box, verify the information. If you want to change anything, select Back and reenter the desired settings.
Select Connect.
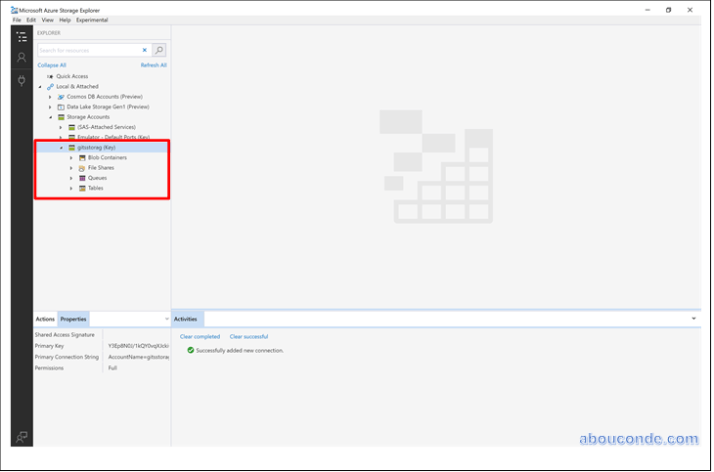
After the storage account has successfully been attached, the storage account is displayed with (External) appended to its name.
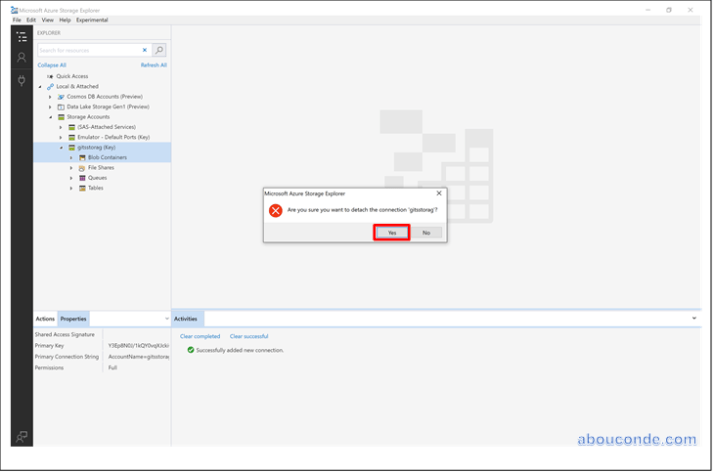
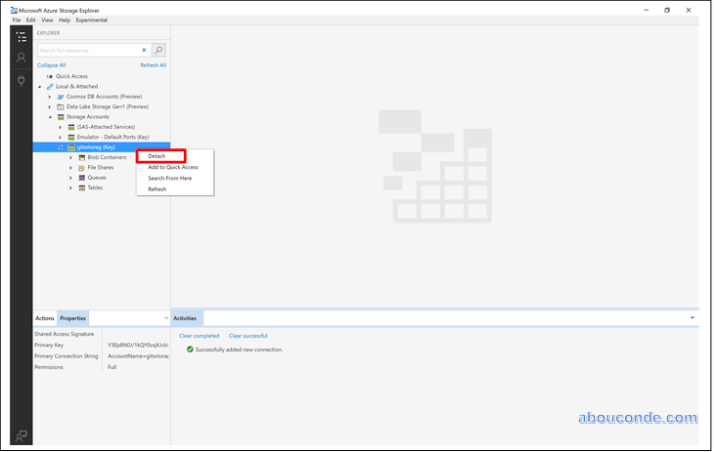
Detach from an external storage account
Right-click the external storage account that you want to detach, and then select Detach.
In the confirmation message, select Yes to confirm the detachment from the external storage account.