This blog post shows how to create web Apps and App Service plans in Azure
Azure App Service plan overview
In App Service, an app runs in an App Service plan. An App Service plan defines a set of compute resources for a web app to run.
These compute resources are analogous to the server farm in conventional web hosting. One or more apps can be configured to run on the same computing resources (or in the same App Service plan).
When you create an App Service plan in a certain region (for example, West Europe), a set of compute resources is created for that plan in that region. Whatever apps you put into this App Service plan run on these compute resources as defined by your App Service plan.
Each App Service plan defines:
- Region (West US, East US, etc.)
- Number of VM instances
- Size of VM instances (Small, Medium, Large)
- Pricing tier (Free, Shared, Basic, Standard, Premium, PremiumV2, Isolated, Consumption)
The pricing tier of an App Service plan determines what App Service features you get and how much you pay for the plan.
There are a few categories of pricing tiers:
- Shared compute: Free and Shared, the two base tiers, runs an app on the same Azure VM as other App Service apps, including apps of other customers. These tiers allocate CPU quotas to each app that runs on the shared resources, and the resources cannot scale out.
- Dedicated compute: The Basic, Standard, Premium, and PremiumV2 tiers run apps on dedicated Azure VMs. Only apps in the same App Service plan share the same compute resources. The higher the tier, the more VM instances are available to you for scale-out.
- Isolated: This tier runs dedicated Azure VMs on dedicated Azure Virtual Networks, which provides network isolation on top of compute isolation to your apps. It provides the maximum scale-out capabilities.
- Consumption: This tier is only available to function apps. It scales the functions dynamically depending on workload.
Create an App Service plan
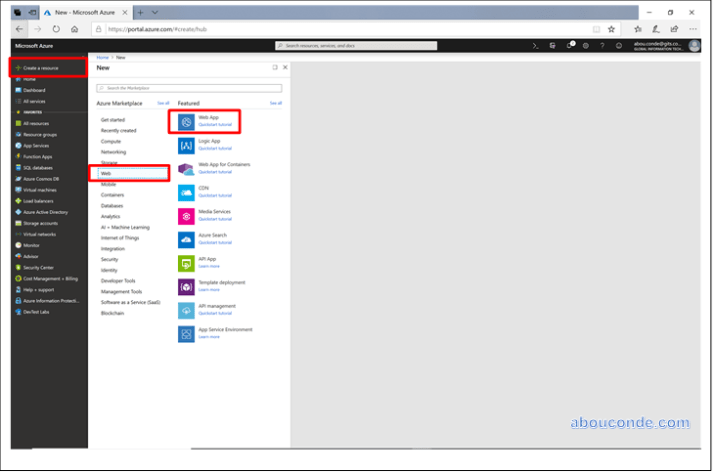
In the Azure Portal, click Create a resource > Web > Web App
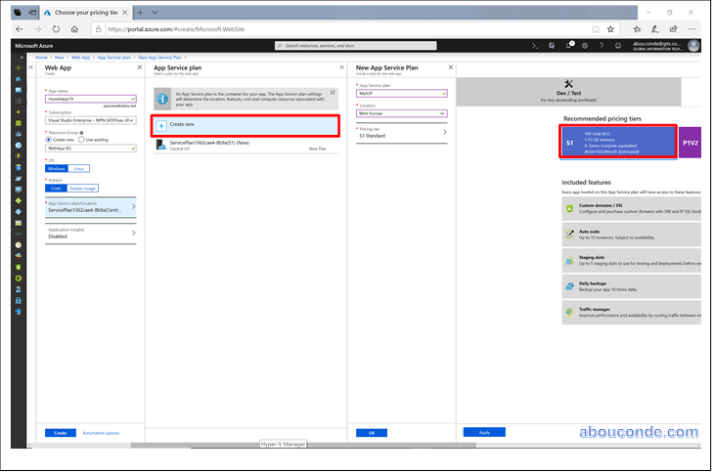
To create a plan:
a. Select [+] Create New.
b. For App Service plan, enter the name of the plan.
c. For Location, select an appropriate location.
d. For Pricing tier, select an appropriate pricing tier for the service. Select View all to view more pricing options, such as Free and Shared.
After you have selected the pricing tier, click the Select button.

Enter the name for your web app, and then click Create.
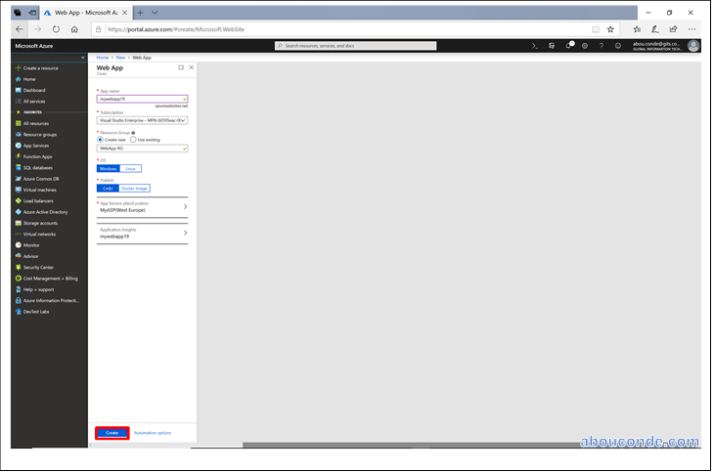
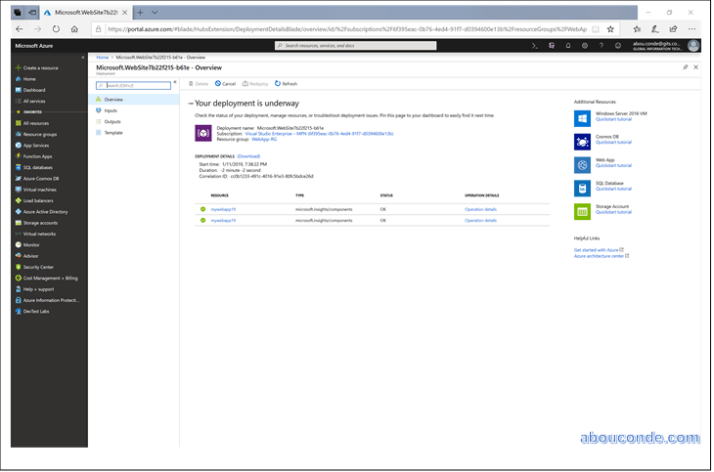
Now we see our app is deploying and in few second, we will get a notification that our web app is created successfully.
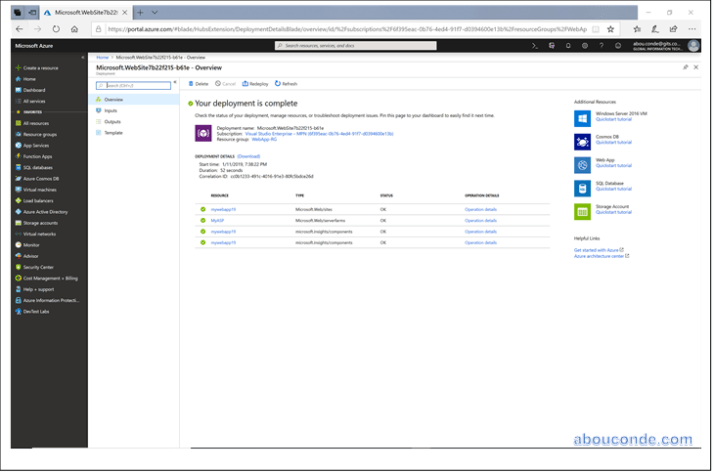
The deployment is completed.
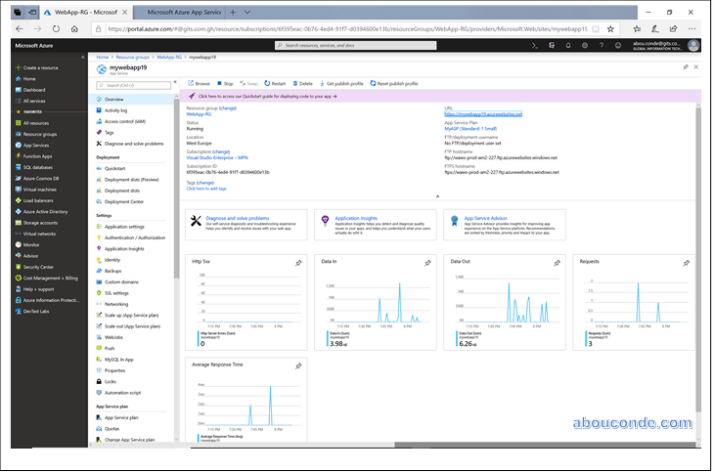
Go to resource group to verify your newly created web App and App Service.
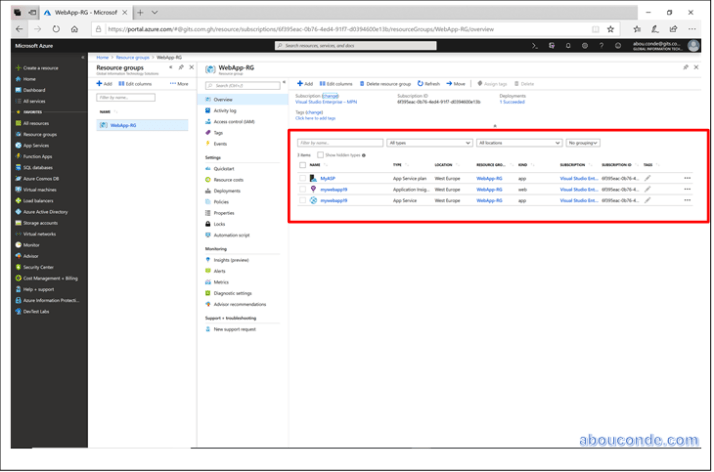
Our App Service is up and running