A content delivery network (CDN) is a distributed network of servers that can efficiently deliver web content to users. CDNs store cached content on edge servers in point-of-presence (POP) locations that are close to end users, to minimize latency.
You can enable Azure CDN for your storage account directly from your storage account
This blog post shows how to enable Azure Content Delivery Network (CDN) by creating a new CDN profile and CDN endpoint
Prerequisites
For the purposes of this post, you must have created a storage account named gitsstorage, which you use for the origin hostname.
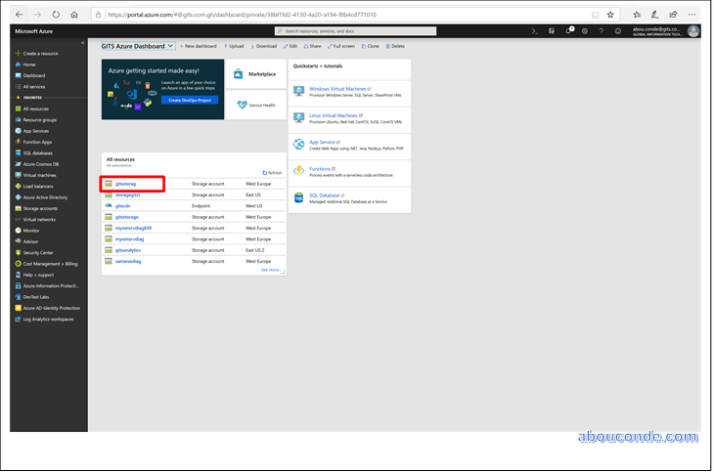
Log in to the Azure portal
Log in to the Azure portal with your Azure account.
Select a storage account from the dashboard,
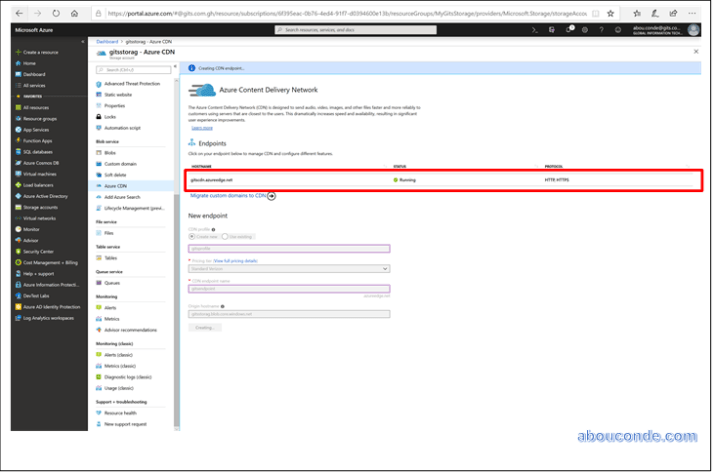
Select Azure CDN from the left pane.

Create a new endpoint by entering the required information specified in the following table:
| Setting | Value |
| CDN profile | Select Create new and enter your profile name, for example, my-cdn-profile-123. This name must be globally unique. |
| Pricing tier | Select Standard Verizon from the drop-down list. |
| CDN endpoint name | Enter your endpoint hostname, This name must be globally unique. This name is used to access your cached resources at the domain <endpoint name>.azureedge.net. |
| Origin hostname | By default, a new CDN endpoint uses the hostname of your storage account as the origin server. |
Select Create.

After the endpoint is created, it appears in the endpoint list.
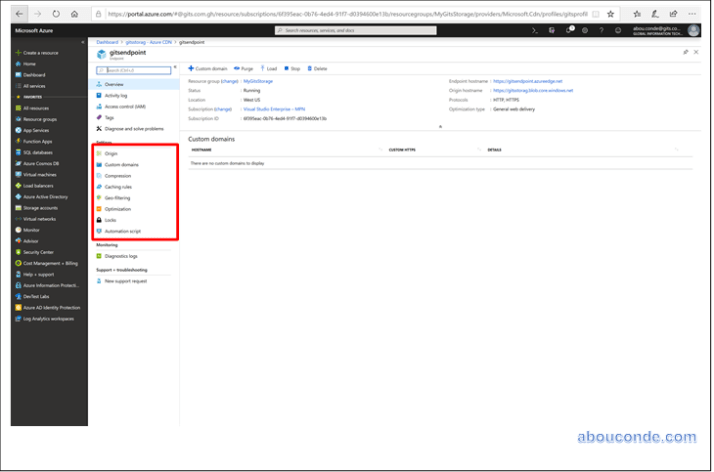
Enable additional CDN features
From the storage account Azure CDN page, select the CDN endpoint from the list to open the CDN endpoint configuration page. From this page, you can enable additional CDN features for your delivery, such as compression, caching rules, and geo filtering.