
Azure Active Directory (Azure AD) Pass-through Authentication allows your users to sign in to both on-premises and cloud-based applications using the same passwords. This feature provides your users a better experience – one less password to remember, and reduces IT helpdesk costs because your users are less likely to forget how to sign in. When users sign in using Azure AD, this feature validates users’ passwords directly against your on-premises Active Directory.
This blog post shows how to create a hybrid identity environment using Pass-through Authentication.
Create an Azure AD tenant
We need to create an Azure AD tenant so that we can synchronize our users to the cloud. To create a new Azure AD tenant,
do the following.
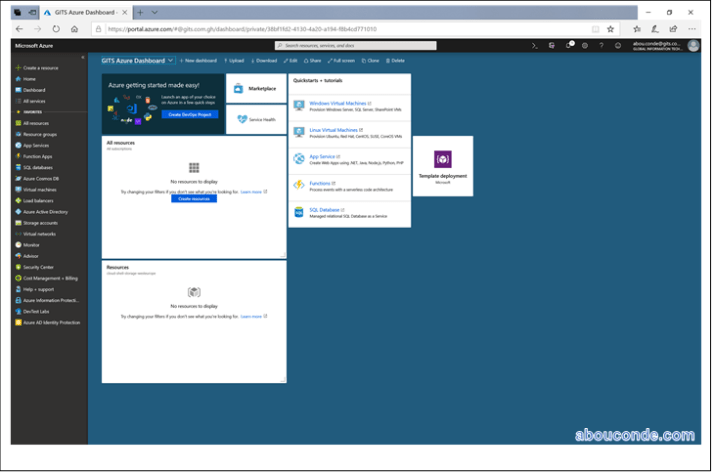
Browse to the Azure portal and sign in with an account that has an Azure subscription.
Select the plus icon (+) and search for Azure Active Directory.
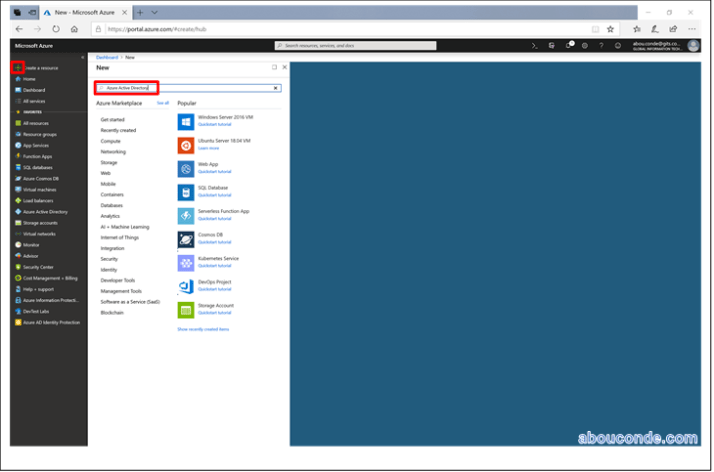
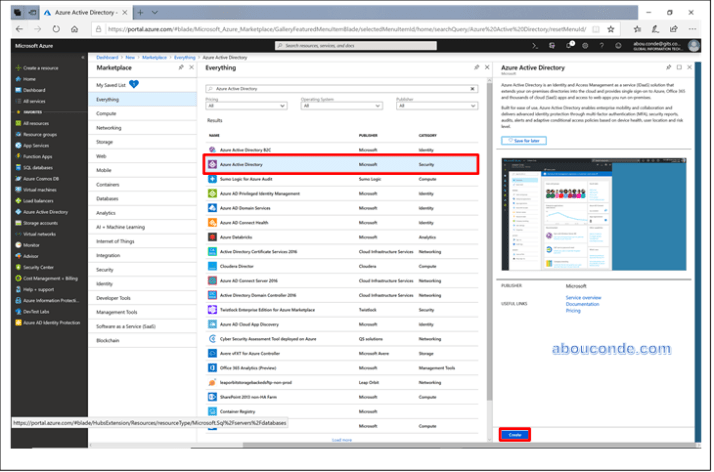
Select Azure Active Directory in the search results.
Select Create.
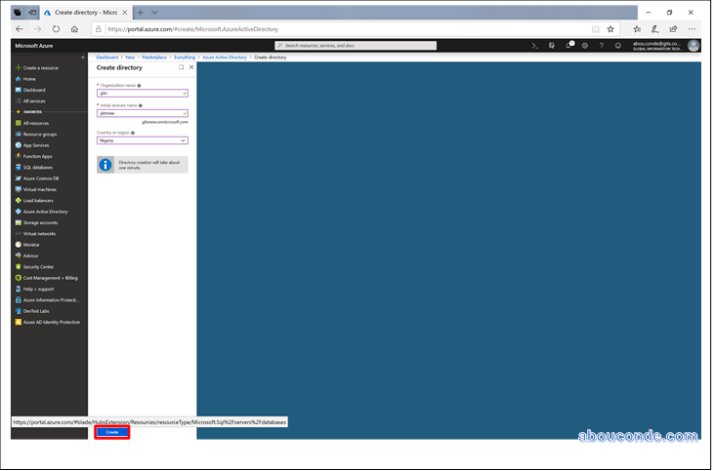
Provide a name for the organization along with the initial domain name. Then select Create.
This will create your directory. Once this has completed, click the here link, to manage the directory.
Create a global administrator in Azure AD
Now that we have an Azure AD tenant, we will create a global administrator account. This account is used to create the Azure AD Connector account during Azure AD Connect installation. The Azure AD Connector account is used to write information to Azure AD.
To create the global administrator account, do the following.
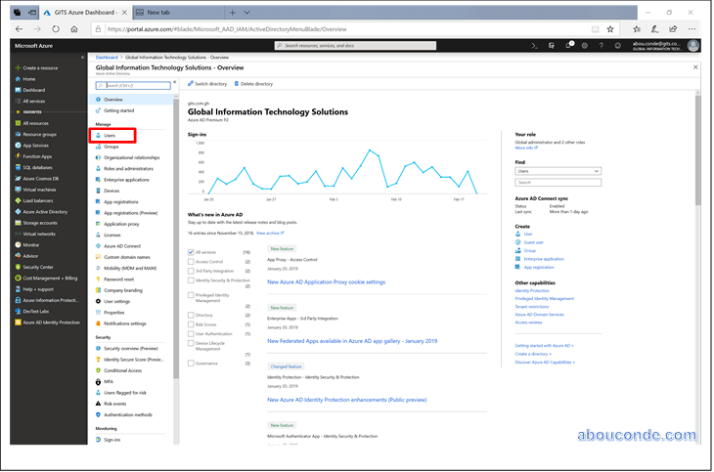
Under Manage, select Users.
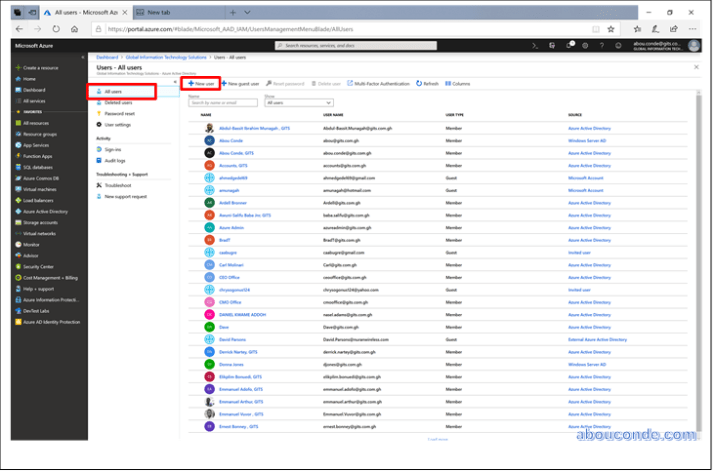
Select All users and then select + New user.
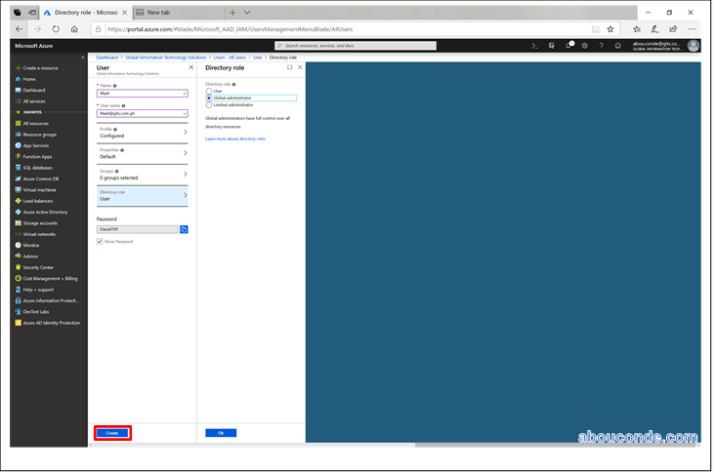
Provide a name and username for this user. This will be your Global Admin for the tenant. You will also want to change the Directory role to Global administrator. You can also show the temporary password. When you are done, select Create.
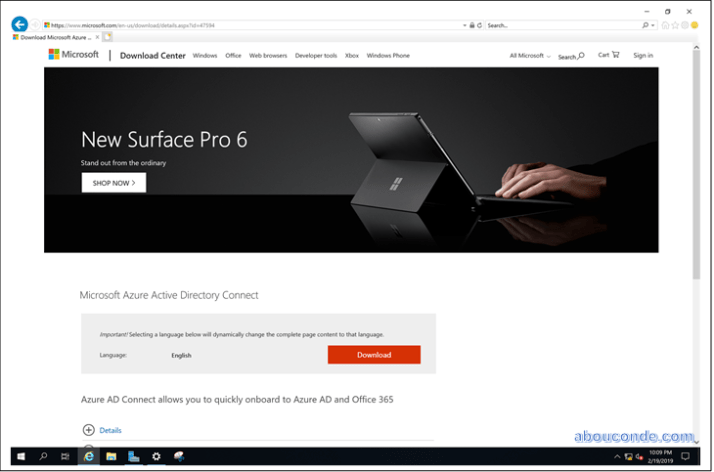
Download and install Azure AD Connect
Now it is time to download and install Azure AD Connect. Once it has been installed, we will run through the express installation.
Do the following:
Download Azure AD Connect
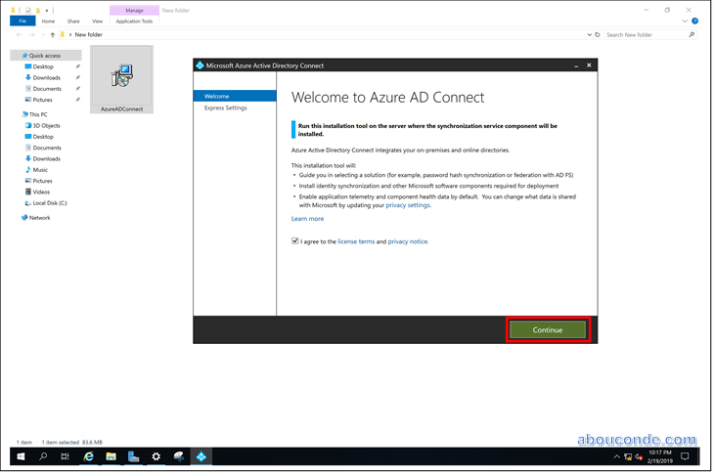
Navigate to and double-click AzureADConnect.msi.
On the Welcome screen, select the box agreeing to the licensing terms and click Continue.
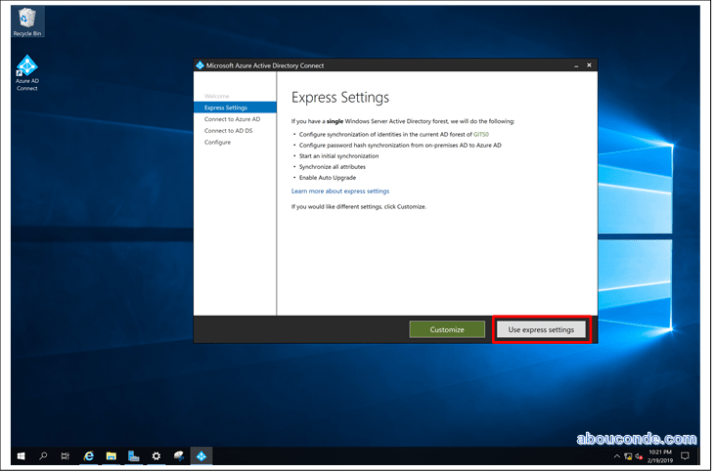
On the Express settings screen, click Use express settings.
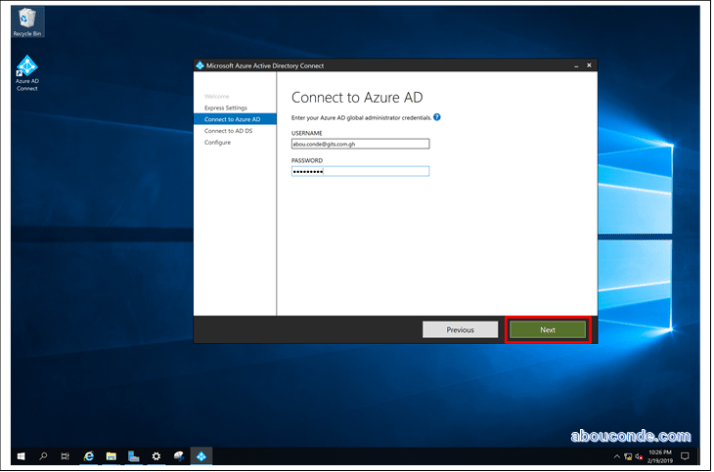
On the Connect to Azure AD screen, enter the username and password the global administrator for Azure AD. Click Next.
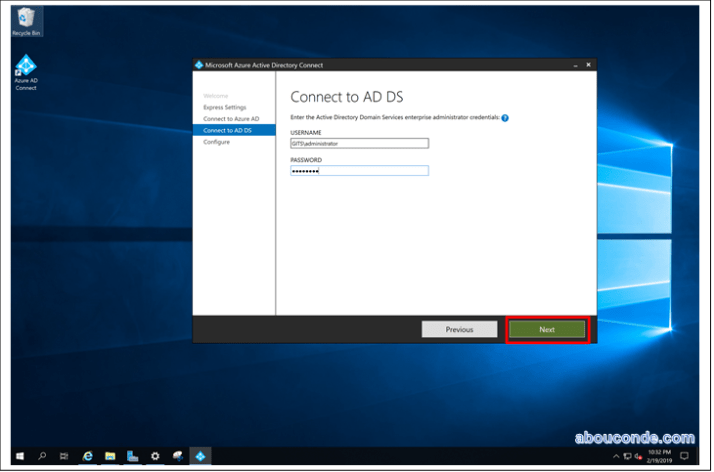
On the Connect to AD DS screen, enter the username and password for an enterprise admin account. Click Next.
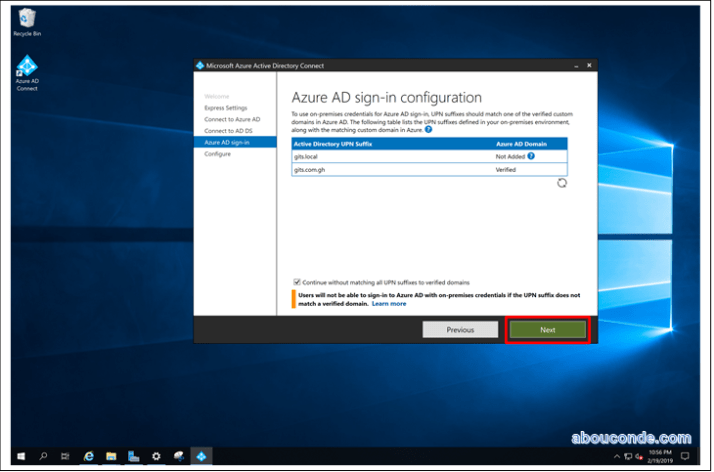
Azure AD sign-in configuration
This page allows you to review the UPN domains present in on-premises AD DS and which have been verified in Azure AD.
This page also allows you to configure the attribute to use for the userPrincipalName.
Review every domain marked Not Added and Not Verified. Make sure those domains you use have been verified in Azure AD.
Click the Refresh symbol when you have verified your domains and Click Next
On the Ready to configure screen, click Install.
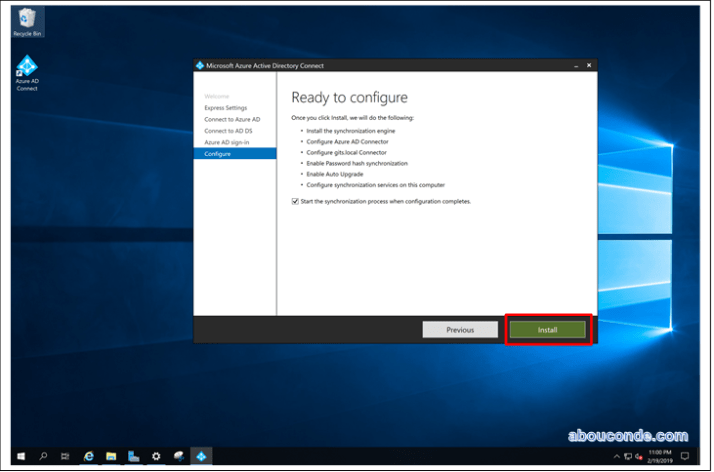
When the installation completes, click Exit.

