Your users can create and manage their own security groups or Office 365 groups in Azure Active Directory (Azure AD). Users can also request security group or Office 365 group memberships, and then the owner of the group can approve or deny membership. Day-to-day control of group membership can be delegated to the people who understand the business context for that membership. Self-service group management features are available only for security groups and Office 365 groups, but not for mail-enabled security groups or distribution lists.
Self-service group management services two scenarios:
-
Delegated group management an example is an administrator who is managing access to a SaaS application that the company is using. Managing these access rights is becoming cumbersome, so this administrator asks the business owner to create a new group. The administrator assigns access for the application to the new group, and adds to the group all people already accessing to the application. The business owner then can add more users, and those users are automatically provisioned to the application. The business owner doesn’t need to wait for the administrator to manage access for users. If the administrator grants the same permission to a manager in a different business group, then that person can also manage access for their own users. Neither the business owner nor the manager can view or manage each other’s users. The administrator can still see all users who have access to the application and block access rights if needed.
- Self-service group management an example of this scenario is two users who both have SharePoint Online sites that they set up independently. They want to give each other’s teams access to their sites. To accomplish this, they can create one group in Azure AD, and in SharePoint Online each of them selects that group to provide access to their sites. When someone wants access, they request it from the Access Panel, and after approval they get access to both SharePoint Online sites automatically. Later, one of them decides that all people accessing the site should also get access to a particular SaaS application. The administrator of the SaaS application can add access rights for the application to the SharePoint Online site. From then on, any requests that get approved gives access to the two SharePoint Online sites and also to this SaaS application.
This blog post shows to configure self-service group management.
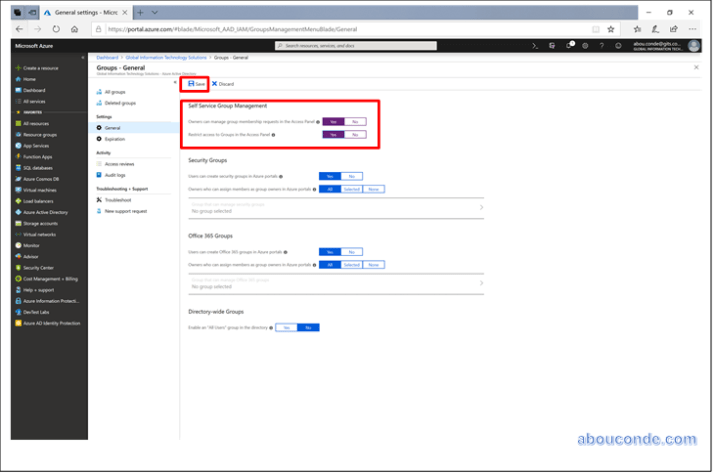
Set up group self-service
Sign in to the Azure portal at https://portal.azure.com with your Azure account that’s a global admin for the directory.
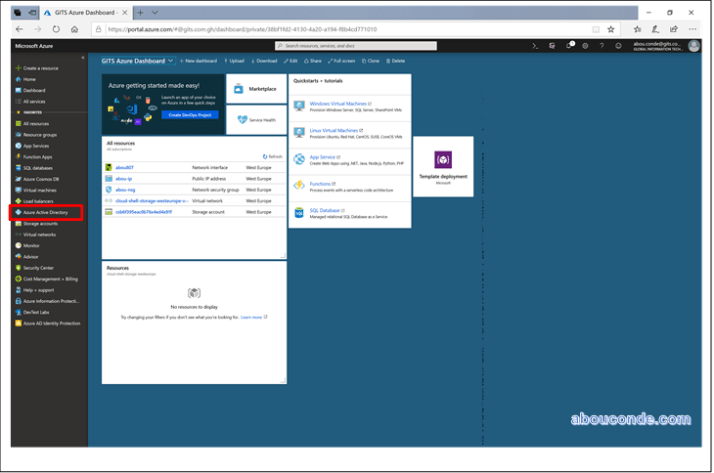
On the left pane of the dashboard, click Azure Active Directory
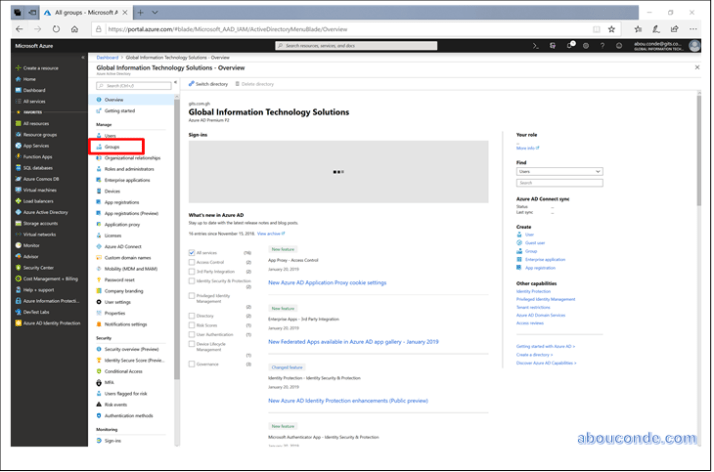
On the Azure portal under Azure Active Directory select Groups.
Click General, under settings on All groups Tab.
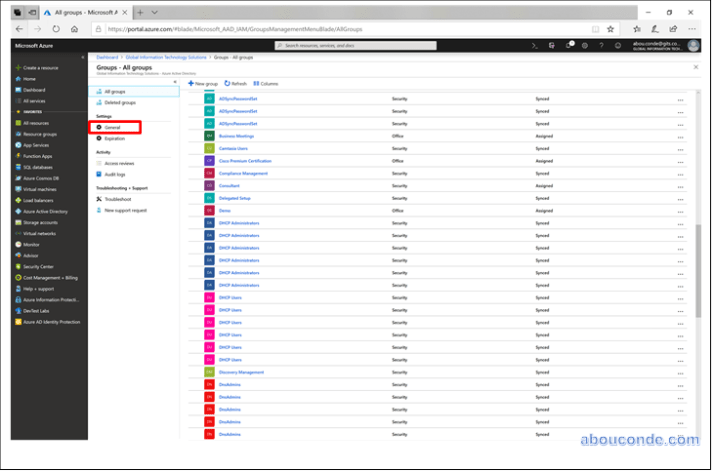
Set Self-service group management enabled to Yes.
Click Save
Create group and add members
Select Azure Active Directory, Groups, and then select New group.

In the Group page, fill out the required information.
Select Create.
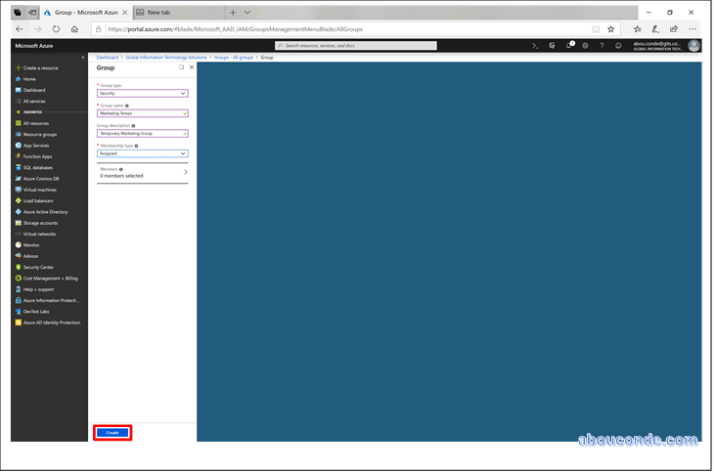
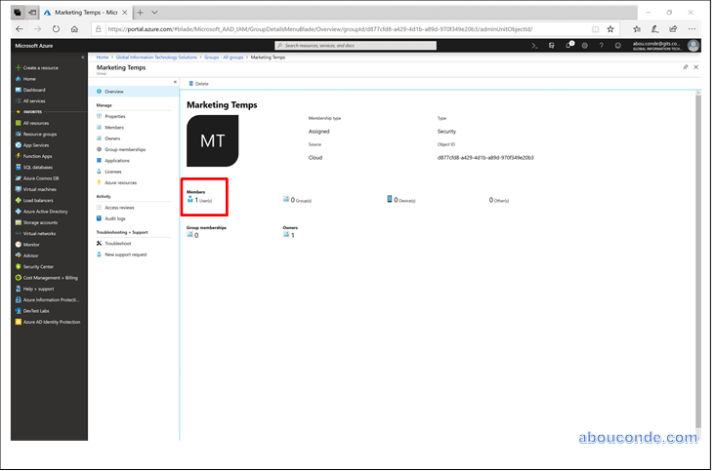
Your group is created and ready for you to add members.
Select the Members area from the Group page, and then begin searching for the members to add to your group from the Select members page.
When you’re done adding members, choose Select.
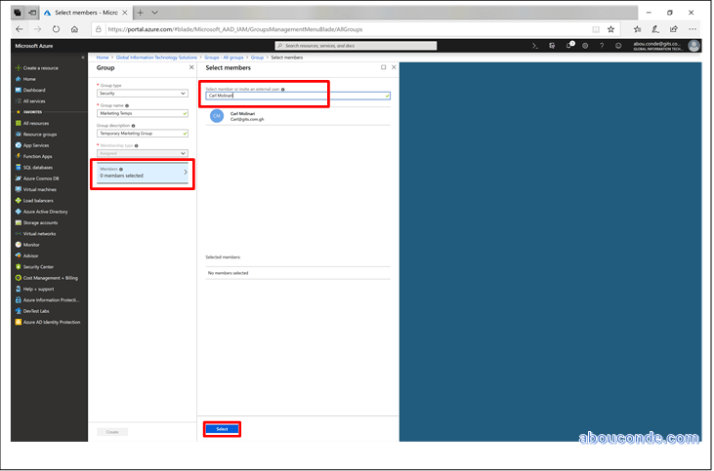
The Group Overview page updates to show the number of members who are now added to the group.