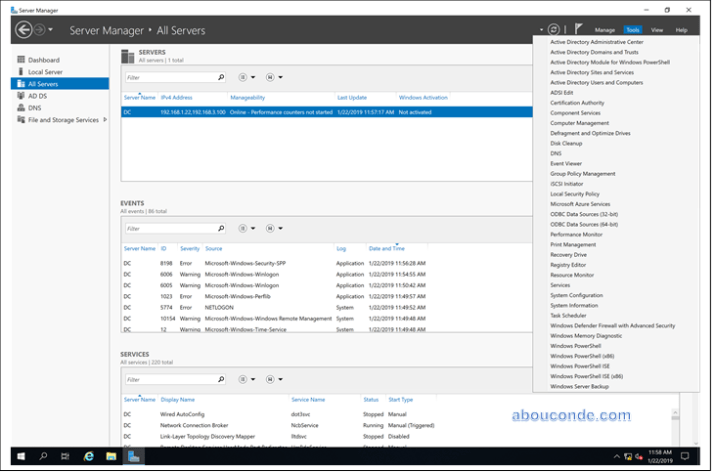
This blog post shows the process of implementing a new forest for an Active Directory environment using Windows Server 2019.
This will be done initially by installing the corresponding role and then by promoting the server to be the first Domain Controller (DC). At the same time, we will also install the DNS role to exploit the capabilities of Active Directory-integrated zones.
The process is done in two steps:
- Install the Active Directory Domain Services role
- Promote the server to a Domain Controller
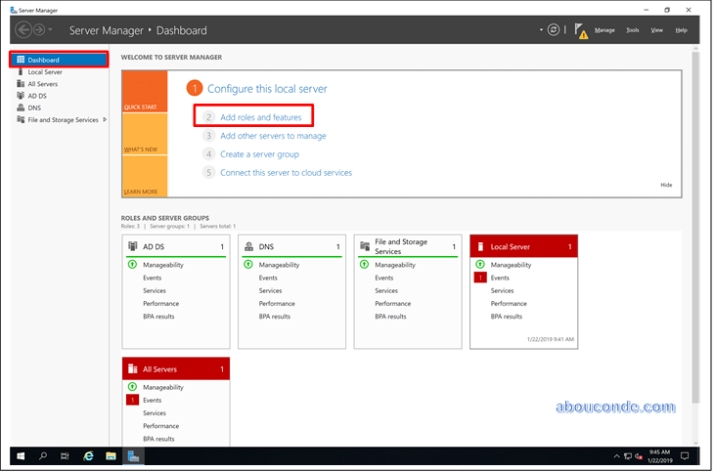
Install the Active Directory Domain Services role
Open Server Manager, Select Dashboard, then Add Roles and Features.
On the Before You Begin tab, click Next to continue.

On the Installation Type Tab, select Role-based or feature-based installation and click Next to continue.

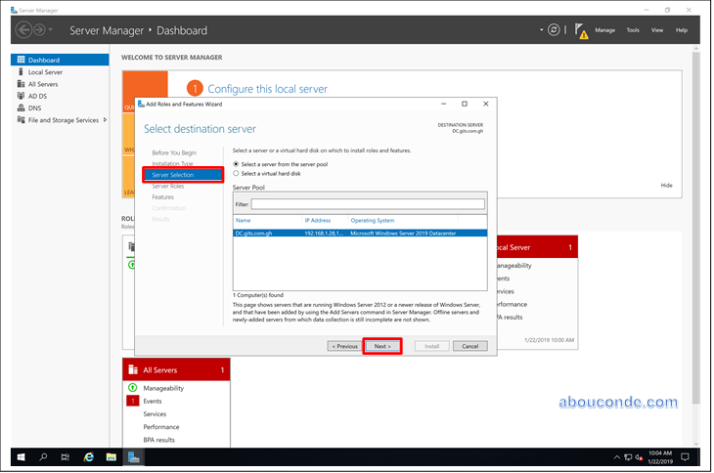
On the Server Selection tab, make sure that the server you want is selected and click Next to continue.
Under Server Roles, select Active Directory Domain Services. Once you do this, you will be asked to add some additional features.
Click the Add Features button and then click Next to continue.

On the Features tab, you do not have to choose something, just click Next to continue.

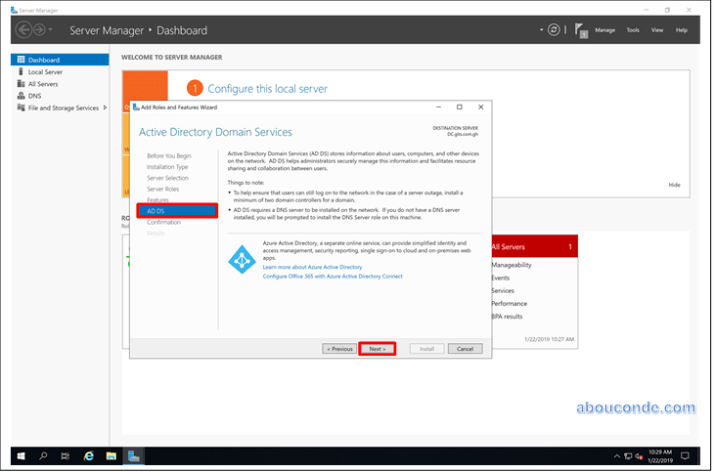
On the AD DS tab, some information about AD DS is displayed, just click Next to continue.
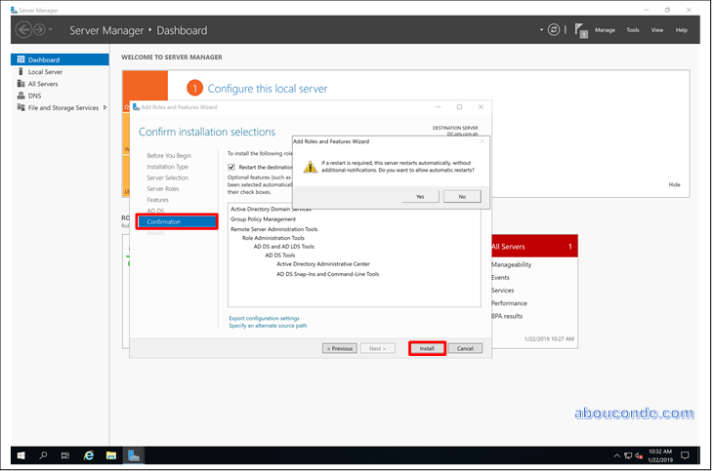
On the Confirmation tab, click the Install button to proceed to install the role.
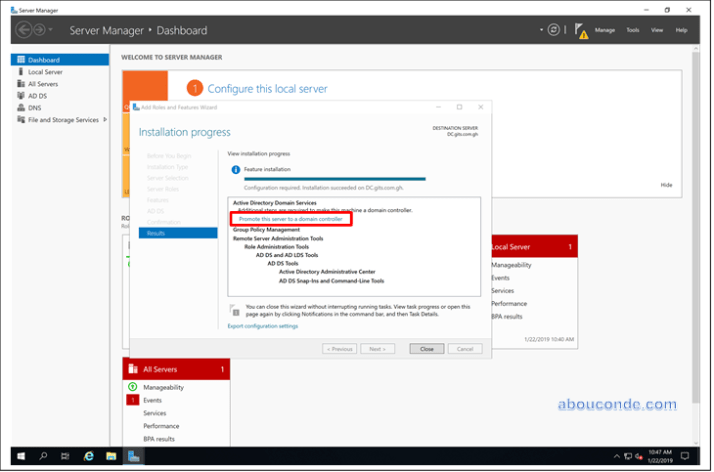
Installation is in Progress

Promote the server to a Domain Controller
Once the role installation is completed, if you do not close the window, you will be prompted to promote the server to a Domain Controller (DC).
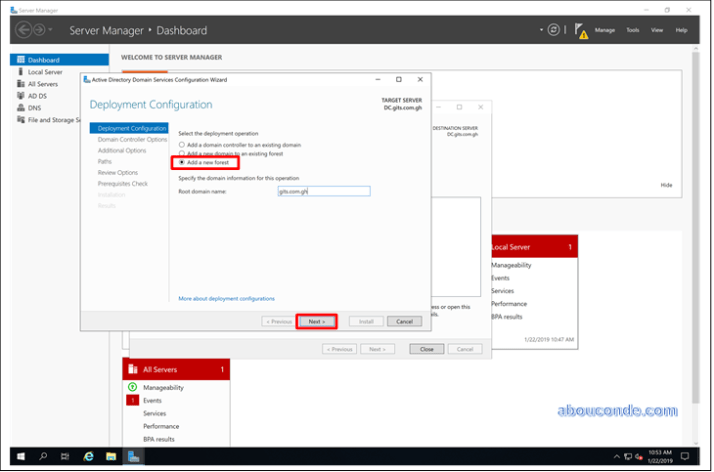
On the Deployment Configuration section, as far as the first forest is concerned, enable the Add a new forest option, and then type the desired domain name.
Under Domain Controller Options, select Forest and Domain Functional Level. leave the default values. Otherwise, if there are other Domain Controllers in your business infrastructure, you should know the functional level of the others before proceeding to the necessary actions.
Enable the Domain Name System (DNS) server option to also install the DNS role on the same serve.
Also, type (twice) the Directory Services Restore Mode (DSRM) password, make sure to record it in your documentation and click Next to continue.

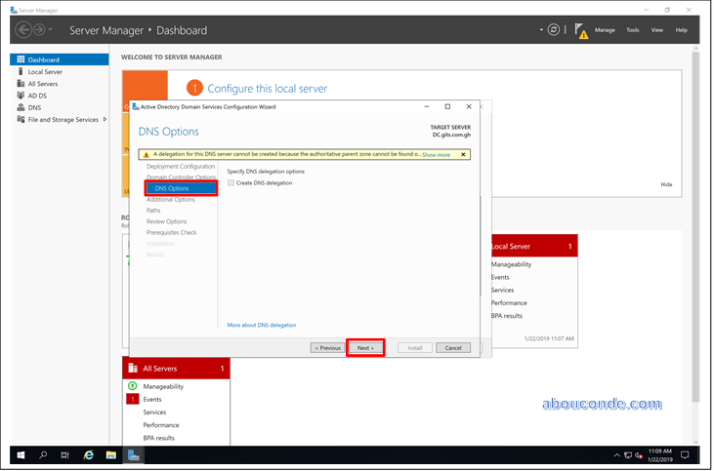
On the DNS Options sub-section, you will see if you install the DNS role, a warning message appears, click Next to continue.
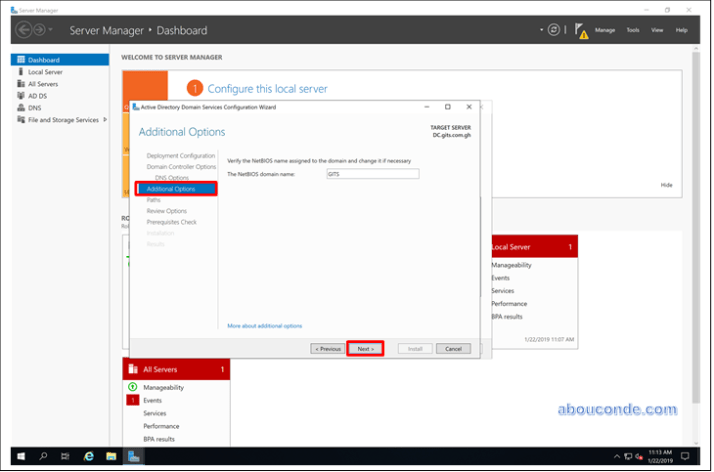
On the Additional Options section, leave the default NetBIOS name and click Next to continue.
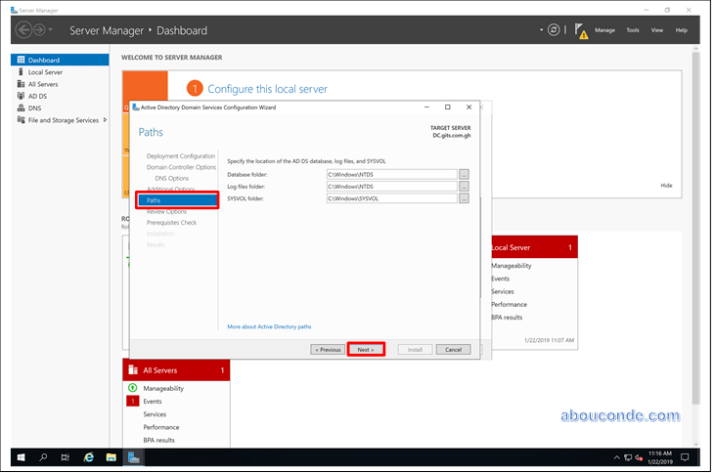
In the Paths section, select where the NTDS, SYSVOL, and LOG folders will reside on your server. In my case I will leave the default values, you can choose another disk based on your preferences and setup.
On the Review Options section, you will see a summary of the settings you have selected. Once you’re sure you have not made a mistake, click Next to continue.

Prerequisites Checking
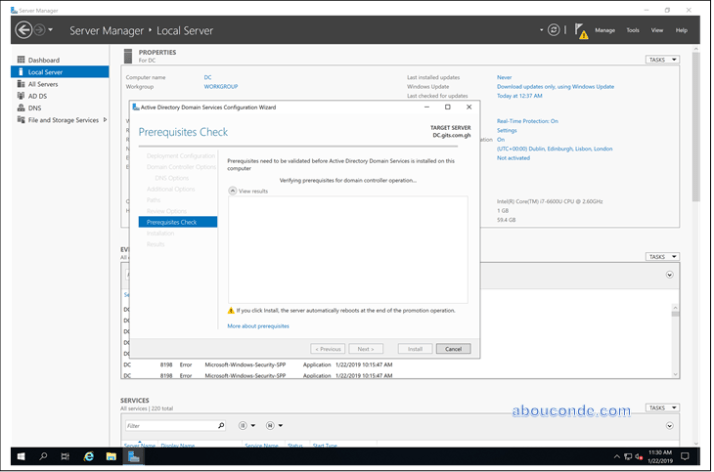
On the Prerequisites Check tab, the prerequisite check passed successfully, click the Install button to proceed

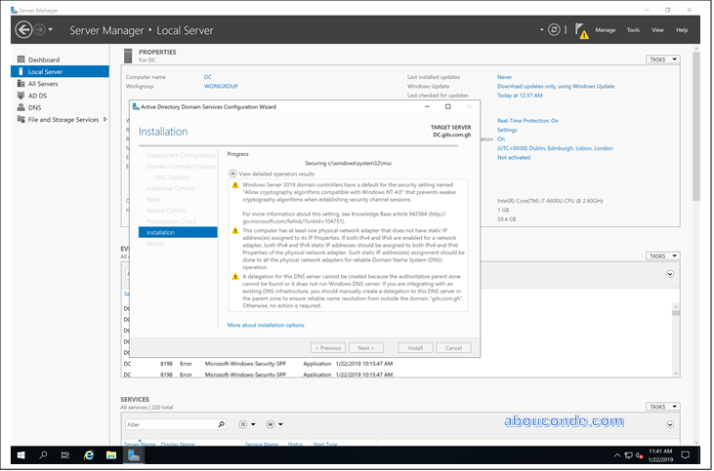
Installing ADDS role on Server 2019
Rebooting

After your reboot, your first Domain Controller and Active Directory infrastructure are ready