Azure Functions lets you execute your code in a serverless environment without having to first create a VM or publish a web application.
This blog post shows how to use the Visual Studio 2017 tools for Azure Functions to locally create and test a function. You then publish the function code to Azure.
These tools are available as part of the Azure development workload in Visual Studio 2017.
Prerequisites
- Install Visual Studio 2017 and ensure that the Azure development workload is also installed.
- Make sure you have the
Create a function app project
The Azure Functions project template in Visual Studio creates a project that can be published to a function app in Azure. A function app lets you group functions as a logical unit for management, deployment, and sharing of resources.
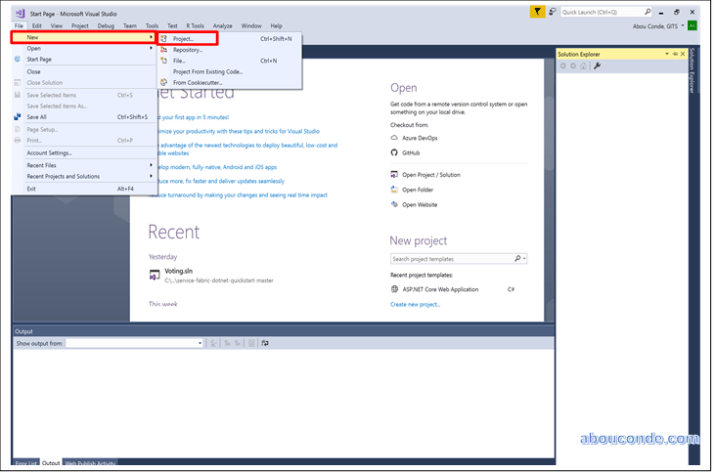
In Visual Studio, select New > Project from the File menu.
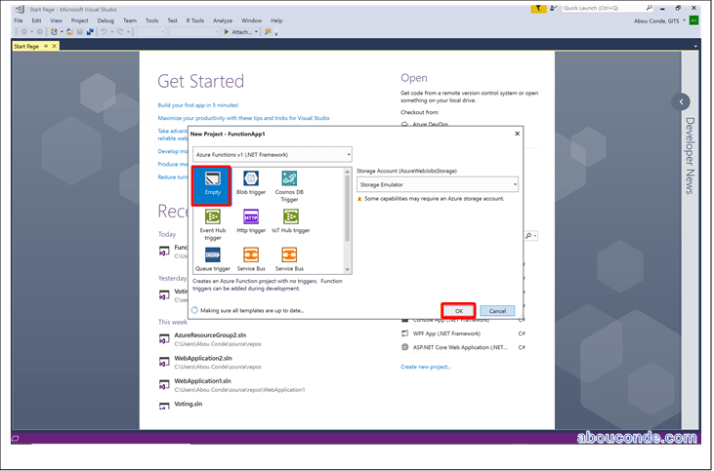
In the New Project dialog, select Installed, expand Visual C# > Cloud, select Azure Functions, type a Name for your project, and click OK.

Use the settings specified in the table that follows the image
Click OK to create the function project and Empty function.
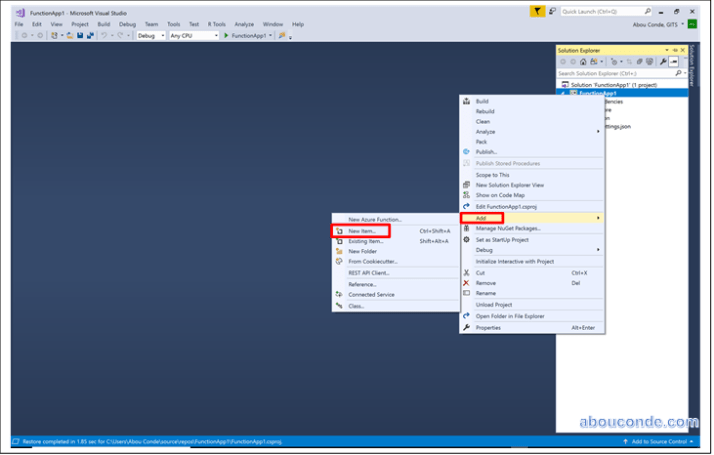
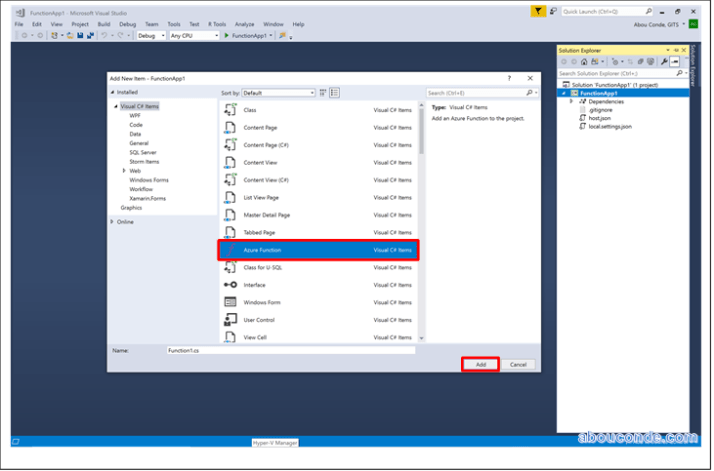
Right-click on the project > Add > New Item
Select Azure Function and click Add
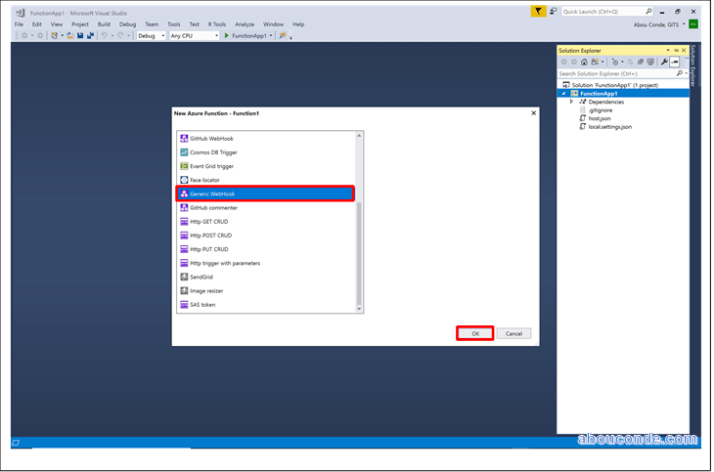
Select Generic Webhook, then ok
Function created

Publish the project to Azure
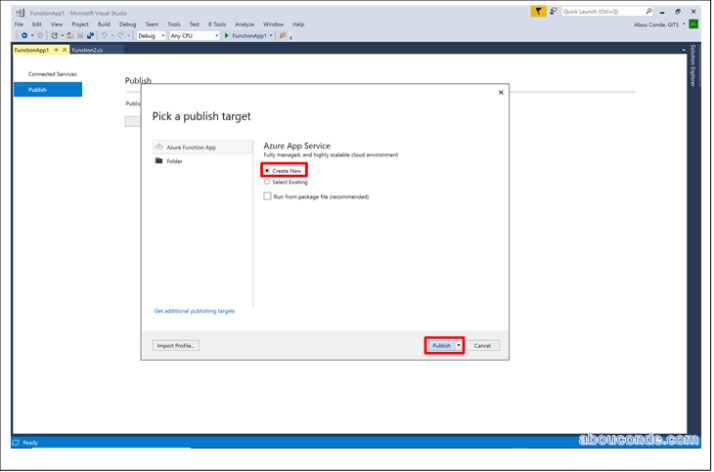
In Solution Explorer, right-click the project and select Publish.
Select Azure Function App, choose Create New, and then select Publish.
If you haven’t already connected Visual Studio to your Azure account, select Add an account….
In the Create App Service dialog, use the Hosting settings as specified in the table below the image:
Click Create to create a function app and related resources in Azure with these settings and deploy your function project code.

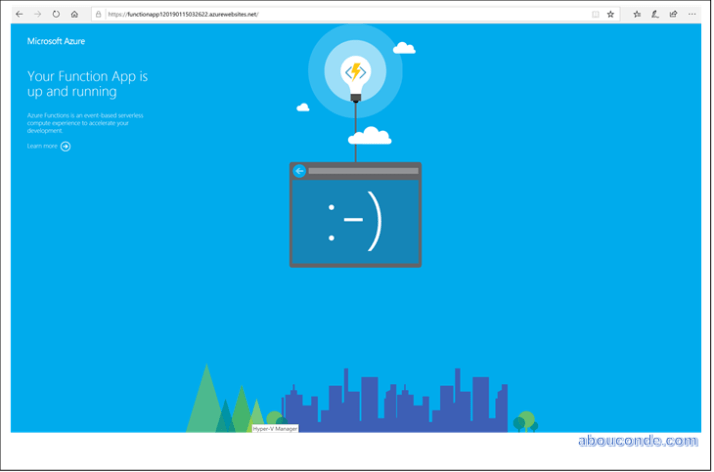
After the deployment is complete, make a note of the Site URL value, which is the address of your function app in Azure.

Test the function
Paste the URL for the HTTP request into your browser’s address bar.