A virtual network enables Azure resources, such as virtual machines (VM), to communicate privately with each other, and with the internet
In this post, you will learn how to create a VNet, using Azure management portal.
Log in to Azure
Log in to the Azure portal at https://portal.azure.com.
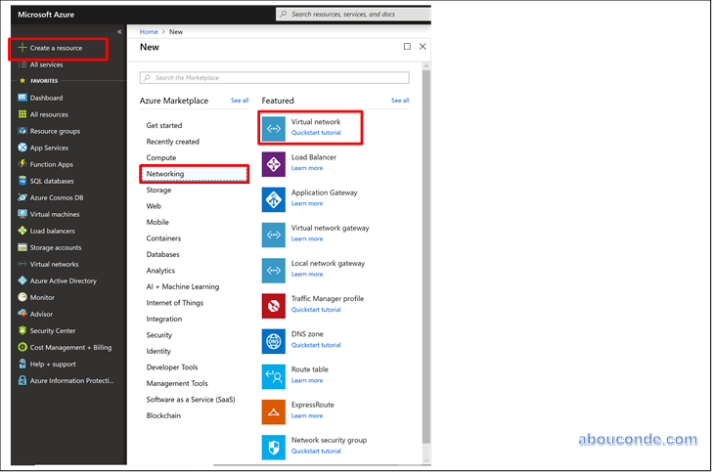
Select + Create a resource on the upper, left corner of the Azure portal.
Select Networking, and then select Virtual network.
Enter, or select, the following information, accept the defaults for the remaining settings,
| Setting | Value |
| Name | MyVNET |
| Address space | 192.168.0.0/16 |
| Subscription | Select your subscription. |
| Resource group | Select Create new and enter myAppVnet. |
| Location | West Europe. |
| Subnet Name | FrontEndVnet |
| Subnet Address range | 192.168.1.0/24 |
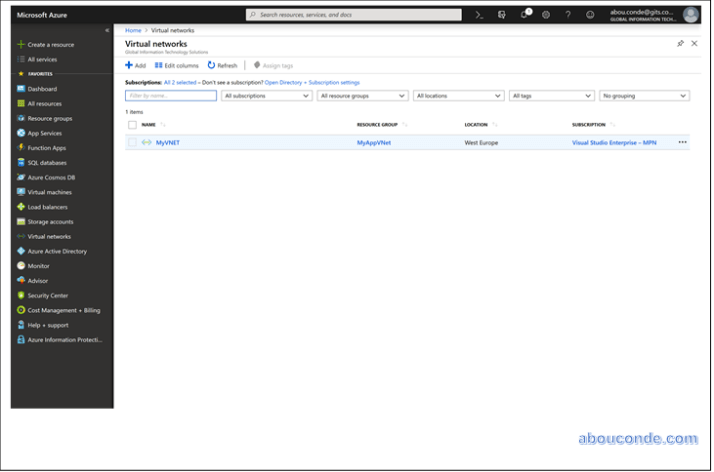
Select Create:

Virtual Network Created.